In today’s fast world, being able to multitask well is key to getting more done. Apple’s macOS has a great feature called Split View. It lets you manage many windows and apps at once. This guide will teach you how to use Split View on your Mac to make your work easier and faster.
Key Takeaways
- Discover the benefits of using Split View on your Mac to enhance productivity and efficiency
- Learn step-by-step instructions for setting up and using Split View to its full potential
- Explore techniques for seamless multitasking, app switching, and window resizing within Split View
- Understand how to customize Split View to suit your unique work style and preferences
- Uncover tips and tricks for maximizing the use of Split View in your daily tasks
Whether you’re a pro or new to your Mac, this guide will help you use Split View better. It will boost your productivity. Let’s start and see how your Mac can multitask like never before.
What is Split View on a Mac?
Split View is a key feature in macOS. It lets you use two apps at once on your Mac’s screen. This makes multitasking easier and boosts your productivity.
Understanding the Split View Feature
The Split View feature splits your screen into two windows. This way, you can see two different apps at the same time. It’s great for comparing documents or working on several projects without switching apps all the time.
Benefits of Using Split View
- Improved productivity: Split View lets you work on many tasks at once, saving time and making you more efficient.
- Seamless multitasking: With two apps open side-by-side, switching between them is quick and easy.
- Better organization: Split View keeps your workspace tidy by showing you the apps you’re using clearly.
- Streamlined workflow: Seeing and using two apps at once can make your workflow smoother, cutting down on switching between windows.
Learning about the split view on mac and its benefits can help you be more productive and efficient every day.
Setting Up Split View on Your Mac
To start using Split View on your Mac, you need to enable and set it up. This easy process will make Split View a part of your daily work. It will help you work more efficiently and productively.
Enabling Split View
First, turn on Split View on your Mac. Here’s how:
- Open System Preferences by clicking the Apple logo in the top-left corner and choosing “System Preferences”.
- Click on the “Mission Control” icon.
- In Mission Control settings, find and turn on the “Split View” option.
- Close the System Preferences window to save your changes.
Configuring Split View Settings
Now that Split View is on, you can make it your own. Here’s how to adjust the settings:
- Snap to Edges: Turn on this setting to snap windows to the sides when you drag them.
- Resize Windows: Change the size of your windows in Split View by dragging the divider.
- Switch Between Apps: Use Command + ` (backtick) to switch between apps in Split View.
By following these steps, you’ll learn how to set up split view on mac, enable split view on mac, and configure split view settings. This will help you work better and more efficiently.
How to Use Split View on a Mac: Boost Your Productivity
Unlocking your Mac’s full potential starts with Split View. This feature lets you multitask better, switch apps easily, and make your workspace more efficient. I’ll show you how to use Split View to improve your workflow and boost productivity.
To start Split View, click and hold the green button in the top-left corner of an app window. Then, drag it to the left or right edge of your screen. This will snap the window to the side, letting you pick another app for the other space. Or, you can drag an app window to the screen’s edge by holding the title bar.
After setting up Split View, switching between apps is easy. Just click on the window you want or use keyboard shortcuts. To resize the windows, hover over the dividing line until you see a double-headed arrow. Then, click and drag to change the size of each pane.
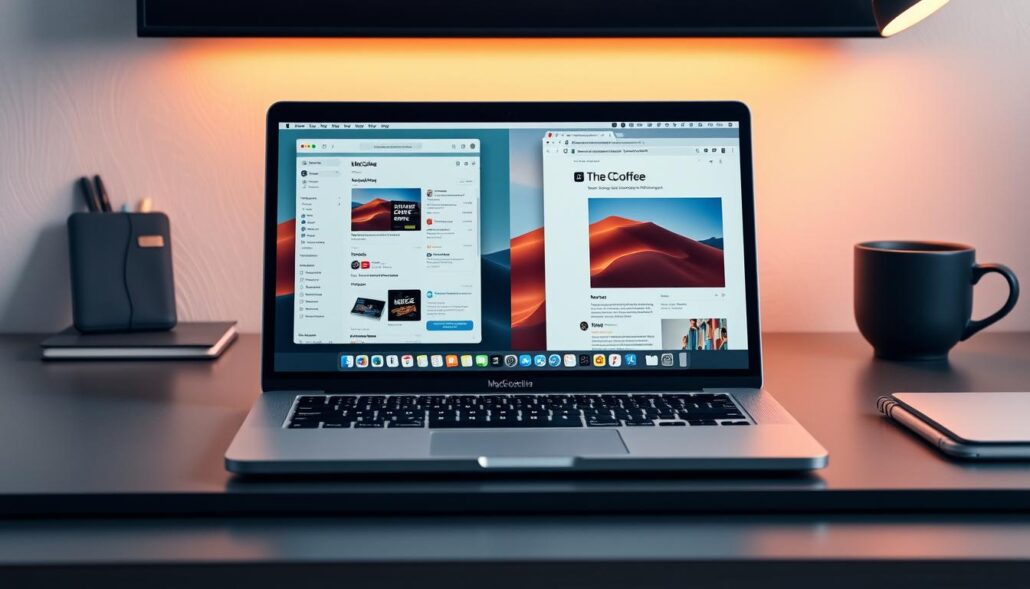
Learning these split view mac tips helps you maximize productivity with split view. It’s perfect for complex projects, writing, or managing multiple tasks. The Split View feature on your Mac is a game-changer for how to use split view on mac and increasing your productivity.
Efficient Multitasking with Split View
Apple’s Split View feature on macOS is a true productivity powerhouse. It lets users switch between apps and resize windows easily. This unlocks a new level of efficient multitasking, helping you maximize your workflow.
Switching Between Apps Seamlessly
Split View makes switching between apps simple. With a gesture, you can move from one app to another quickly. This keeps your focus and momentum going, allowing you to work efficiently.
Resizing Windows for Optimal View
Split View also lets you resize your app windows. You can adjust their size and position to fit your needs. This flexibility ensures you have the perfect view for your tasks, whether you’re analyzing data or working on creative projects.
By using efficient multitasking with split view, switching apps in split view, and resizing windows in split view, you can change your workflow. Split View can transform your daily tasks and long-term projects.
Split View for Productivity Powerhouses
For those who see themselves as productivity powerhouses, Split View on a Mac is a game-changer. It helps you work more efficiently by using your screen better. This way, you can get more done in less time.
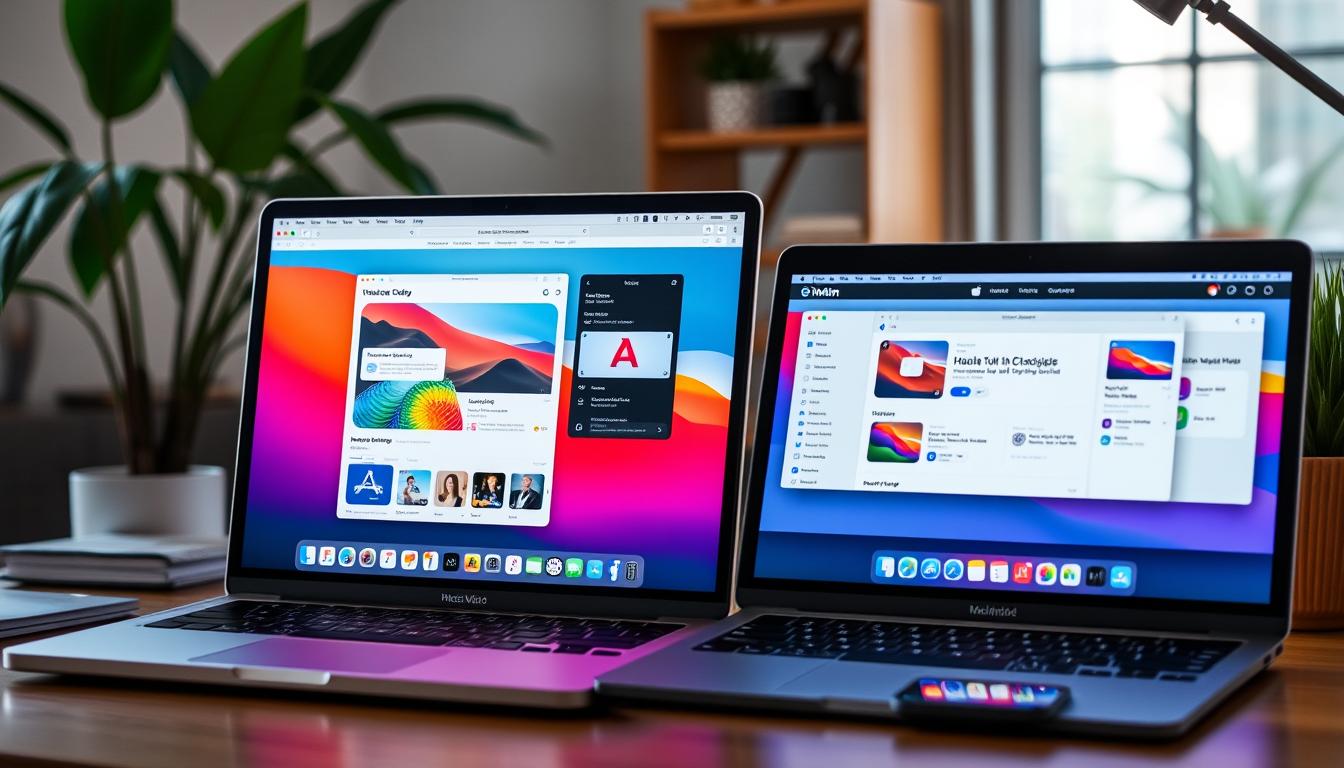
Split View is perfect for those who want to use their screen space wisely. It lets you work with two apps side by side. This makes it easy to compare documents and data without switching windows all the time.
It’s especially helpful for professionals like writers, analysts, and developers. They can work on their main task while having a web browser or reference document open. This saves time and reduces the need to switch apps constantly.
Split View also excels at multitasking. It lets you keep an eye on your inbox or project management tools while focusing on your main work. This helps you stay organized and avoid distractions.
To get the most out of Split View, try using it with other macOS features like keyboard shortcuts and Mission Control. Learning these tools can make your workspace even more efficient.
Whether you’re writing a novel, analyzing data, or coding, Split View can help you work better. Use this feature to reach your full productivity potential.
Maximizing Your Workflow with Split View
Split View on your Mac is a game-changer. It lets you combine different apps to boost your productivity. This way, you can get more done in less time.
Combining Productivity Apps
With Split View, you can have two apps open at once. Imagine writing on one side and looking at research on the other. This setup helps you work better and stay focused.
Streamlining Research and Writing
Split View is perfect for writing and research. You can have your writing app and research materials side by side. This makes it easy to switch between them without losing your train of thought.
Using Split View also helps you reference sources and take notes. It makes your writing better and faster. This is a big win for your productivity.
Split View for Multimedia Multitasking
Split View on a Mac is more than just for work apps. It’s great for watching videos while you work. This lets you enjoy your content without stopping your tasks.
Watching Videos While Working
Split View lets you watch videos in one screen half while working in the other. This way, you can keep an eye on your video and still get your work done. It’s perfect for watching tutorials, project presentations, or just relaxing with your favorite shows.
Professionals will find this feature very useful. It lets them switch between work and video easily. This way, they don’t miss out on important info or fun.
Students or remote workers can also benefit a lot. They can watch a video lecture or call on one half of the screen. Meanwhile, they can take notes or do research on the other half. This keeps their workflow smooth and efficient.
Split View on a Mac makes it easy to watch videos while working. It helps you stay focused and productive. Learning to use this feature can make your daily tasks more efficient and fun.
Customizing Split View for Your Needs
To get the most out of Split View on your Mac, you need to go beyond the basics. By tweaking Split View to fit your style, you can make it a key part of your work routine.
Keyboard Shortcuts for Split View
Using keyboard shortcuts is a great way to boost your Split View experience. These shortcuts make it easier to manage your windows, saving you time. Here are some essential ones:
- To enter Split View, press Control + Command + 2
- To exit Split View, press Control + Command + 0
- To switch between the left and right windows, press Control + Command + ← or Control + Command + →
- To resize the windows, press Control + Command + ← or Control + Command + → while holding down the Option key
Learning and using these split view keyboard shortcuts lets you personalize split view settings on your Mac. This way, you can customize split view on mac to fit your daily tasks better.
The more you use these shortcuts, the better you’ll get at customizing split view on mac and personalizing split view settings. This will help you work more efficiently.
Tips and Tricks for Using Split View
Learning to use Split View on your Mac can really improve your work speed. Here, I’ll share some tips and tricks to help you use it better. You’ll learn how to make the most of Split View and improve your work flow.
Keyboard Shortcuts for Split View
Using keyboard shortcuts can make Split View even more useful. Here are some important shortcuts to remember:
- To enter Split View, press Option + Command + 2.
- To leave Split View, use Control + Command + F.
- For resizing windows, try Option + Command + Left/Right Arrow.
Split View Mac Hacks
Discover advanced ways to use Split View:
- Use Split View with Mission Control for easy app switching.
- Combine Split View with Spaces for a more organized workspace.
- Try different window setups to find what works best for you.
Customizing Split View
Split View can be customized to fit your needs. Here’s how to make it your own:
| Customization | Description |
|---|---|
| Window Resizing | Adjust window sizes by clicking and dragging the divider. |
| App Pairing | Choose specific apps for your Split View setups for a smooth workflow. |
| Saved Layouts | Save custom Split View layouts for quick access to your favorite setups. |
Try out these tips and tricks for Split View to boost your Mac’s productivity. With a bit of practice, you’ll master this feature and enhance your work flow.
Potential Issues and Troubleshooting
Split View on your Mac can really boost your productivity. But sometimes, you might run into some problems. Don’t worry, I’ve got some tips to help you fix these issues. We’ll look at common split view mac issues and how to troubleshoot split view to get back to multitasking smoothly.
One common problem is when you can’t turn on Split View. This might be because your screen is too small, or another app is getting in the way. If Split View isn’t working, try these steps:
- Make sure your Mac’s screen resolution is high enough for Split View.
- Check if any other apps are messing with Split View and disable or remove them.
- Restart your Mac to fix any small software problems.
Another issue is when you can’t resize the Split View windows. This can really mess up your workflow. Here’s what you can do:
- Drag the divider between the windows to change their size.
- Look at the snap-to-edge options in System Preferences to adjust how windows resize.
- Try closing and reopening the apps in Split View to reset their sizes.
By fixing these split view mac issues and troubleshooting split view, you can get back to using Split View effectively. If you still have problems, Apple Support can help.
| Common Split View Issues | Troubleshooting Steps |
|---|---|
| Unable to activate Split View |
|
| Difficulty resizing Split View windows |
|
Conclusion
The Split View feature on macOS can really help you work better and faster. By learning the tips and tricks from this guide, you’ll get better at doing many things at once. It’s all about trying different ways to see what works best for you.
Using Split View can make you much more productive. You can easily switch between apps, adjust window sizes, and use different tools together. It’s great for anyone who wants to do more with their Mac, whether you’re a pro at multitasking or just want to make your daily tasks easier.
As you keep using Split View, you’ll find new ways to work smarter, save time, and reach your goals. This tool is very flexible and can really help you stay organized and efficient. Let Split View help you make your computing experience better and more successful.




Leave a Reply