As a Mac user, taking screenshots is key for many tasks. It helps with troubleshooting and sharing visual content. In this guide, I’ll show you how to take screenshots on your Apple device. You’ll learn about keyboard shortcuts and third-party apps.
Key Takeaways
- Learn the keyboard shortcuts for capturing full-screen, selected area, and window screenshots on your Mac.
- Discover the Screenshot Preview Toolbar and its powerful editing and annotation tools.
- Explore third-party screenshot applications that offer advanced features like scrolling capture and cloud integration.
- Understand how to organize and share your screenshots with ease.
- Uncover tips and tricks for efficient screenshot capture and management.
Introduction to Taking Screenshots on a Mac
Capturing screenshots on a Mac is easy and very useful. It helps with many tasks and boosts your productivity. Whether you’re documenting software issues, sharing with colleagues, or making visual aids, screenshotting is key.
We’ll cover the basics of taking screenshots on your Mac. You’ll learn about the built-in tools and shortcuts. By the end, you’ll know how to capture, edit, and share your screen images like a pro.
The Benefits of Mastering Screenshot Capture
Mastering mac screenshot basics has many benefits. It’s not just about capturing content:
- It helps with documentation and troubleshooting. You can share visual evidence of software issues or other concerns.
- It improves communication and collaboration. Screenshots can be used in documents, emails, and presentations to explain points clearly.
- It makes your workflow more efficient. Screenshots can automate tasks, create visual references, and enhance your digital workspace.
Whether you’re a Mac pro or a beginner, learning to take screenshots on mac computer is essential. It opens up many opportunities. Let’s explore the tools and techniques to capture high-quality screen images quickly.
“A picture is worth a thousand words, and a screenshot can be worth even more.” – Anonymous
| Feature | Description |
|---|---|
| Keyboard Shortcuts | Quickly capture full screens, selected windows, or specific areas with a few keystrokes. |
| Screenshot Preview | Edit, annotate, and share your screenshots using the built-in Preview app. |
| Third-Party Apps | Explore advanced screenshot tools with additional features like screen recording, image editing, and cloud storage integration. |
Mastering the Built-in Screenshot Tools
As a Mac user, you have access to powerful screenshot tools. These tools make capturing images easy. You can use simple keyboard shortcuts or the Screenshot Preview toolbar. Let’s explore how to take screenshots on your Mac.
Capturing Screen Grabs with Mac’s Keyboard Shortcuts
Mac’s keyboard shortcuts are quick and efficient for screenshots. The most common ones are:
- Command + Shift + 3: Capture the entire screen
- Command + Shift + 4, then drag: Capture a selected area of the screen
- Command + Shift + 4, then press the Space bar, then click a window: Capture a specific window
These shortcuts let you take screenshots without stopping your work. They’re perfect for capturing content quickly.
Utilizing the Screenshot Preview Toolbar
After taking a screenshot, the Screenshot Preview toolbar offers editing and sharing options. It appears automatically. You can:
- Annotate your screenshot with shapes, text, and arrows
- Crop the image to focus on the essential elements
- Share the screenshot directly with your contacts or through various apps
The Screenshot Preview toolbar makes editing and sharing screenshots easy. It streamlines your workflow.
Learning to use these built-in screenshot tools can boost your productivity. It makes capturing, editing, and sharing images more efficient.
Exploring Third-Party Screenshot Applications
MacOS has great built-in screenshot tools. But, there’s a world of third-party apps with even more features. These apps can help you capture scrolling windows and add precise annotations to your images.
Top apps like Skitch, Monosnap, and CleanShot X offer advanced features. They make taking screenshots easier and give you more control over your images.
Skitch: Annotate and Share with Ease
Skitch is known for its easy-to-use annotation tools. It lets you capture and annotate screenshots quickly. You can also share them easily with others. It works well with Evernote, making it great for note-takers.
Monosnap: Capture Scrolling Content and GIFs
Monosnap is great for capturing long web pages or documents. It also lets you create GIFs. Its editing and sharing tools make it a versatile choice for Mac users.
CleanShot X: Streamlined Workflow and Customization
CleanShot X focuses on making screenshotting easier. It has features like capturing scrolling windows and annotating screenshots. It also lets you record videos and customize the app to fit your needs.
There are many third-party screenshot apps for Mac. Each one has unique features. It’s worth trying them out to find the best one for you.
| App | Key Features | Pricing |
|---|---|---|
| Skitch |
|
Free |
| Monosnap |
|
Free (with pro features available) |
| CleanShot X |
|
$29.99 (one-time purchase) |
Exploring these third-party apps can enhance your screenshot workflow. You’ll be able to take your image capturing to the next level.
How to Take Screenshots on a Mac: Step-by-Step Guide
Capturing screenshots on your Mac is easy and fast. It’s great for saving important info, sharing content, or documenting your computer’s activities. In this guide, I’ll show you how to take screenshots on your Apple device.
Using Keyboard Shortcuts
One easy way to take a screenshot is with keyboard shortcuts. Here’s how:
- To capture the whole screen, press Command + Shift + 3.
- To capture a part of the screen, press Command + Shift + 4, then click and drag to choose the area.
- To capture a window, press Command + Shift + 4, then press the Spacebar and click on the window.
Utilizing the Screenshot Preview Toolbar
For more options, use the Screenshot Preview Toolbar. Press Command + Shift + 5 to open it. This toolbar offers tools and options, like:
- Capturing the whole screen
- Capturing a selected area
- Capturing a window
- Capturing a video of your screen
- Editing and annotating your screenshots
After capturing your screenshot, it will save to your desktop. You can then view, edit, or share it.
By following these steps, you’ll quickly learn how to take screenshots on your Mac. Whether you need to capture the whole screen, a part, or a window, your Mac makes it easy.
Advanced Screenshot Techniques
As a Mac user, you might know the basic screenshot shortcuts. But, did you know about advanced methods for capturing more complex content? I’ll show you how to take screenshots of scrolling windows and webpages. This way, you can document larger or more extensive information easily.
Capturing Scrolling Windows and Webpages
Capturing a full webpage or an extended document can be tricky. But, Mac has some handy solutions. To take a screenshot of a scrolling window or webpage, follow these steps:
- Press Command + Shift + 5 to open the Screenshot toolbar.
- Select the “Capture Entire Screen” or “Capture Selected Window” option.
- Click the “Options” menu and choose “Capture Scrolling Window” or “Capture Entire Page”.
- Click the window or webpage you want to capture, and the screenshot will automatically scroll and capture the full content.
This advanced technique lets you screenshot scrolling content on mac, capture full webpage screenshot on mac, and take screenshot of long document on mac easily. It’s a valuable tool for advanced mac screenshot methods.
| Feature | Description |
|---|---|
| Capture Scrolling Window | Allows you to take a screenshot of a window that extends beyond the visible area, capturing the entire content. |
| Capture Entire Page | Enables you to capture a full webpage, including content that extends past the viewable area. |
These advanced mac screenshot methods make it easy to screenshot scrolling content on mac, capture full webpage screenshot on mac, and take screenshot of long document on mac. They make your documentation and sharing process more efficient and comprehensive.
Editing and Annotating Screenshots
After taking the perfect screenshot, it’s time to make it better. The Preview app on your Mac has great tools for editing and annotating. Let’s see how to crop, resize, and add notes to your screenshots.
Cropping and Resizing with Preview
To crop a screenshot, open it in Preview. Use the selection tools to drag the corners or edges to the size you want. Then, go to “Tools” > “Trim” to remove parts you don’t need. For resizing, choose “Tools” > “Adjust Size” and type in the new size.
Annotating Screenshots with Preview
Preview’s tools let you add text, shapes, and drawings to your screenshots. To annotate, click on the “Markup Toolbar” icon and explore the various options. You can add text boxes, draw shapes, or highlight areas. These notes help explain things, point out important details, or guide the viewer.
Using Preview’s edit screenshots on mac, annotate screenshots on mac, and markup screenshots on mac features, you can make your screenshots better. The preview app screenshot tools help you improve your mac screenshot editing process.
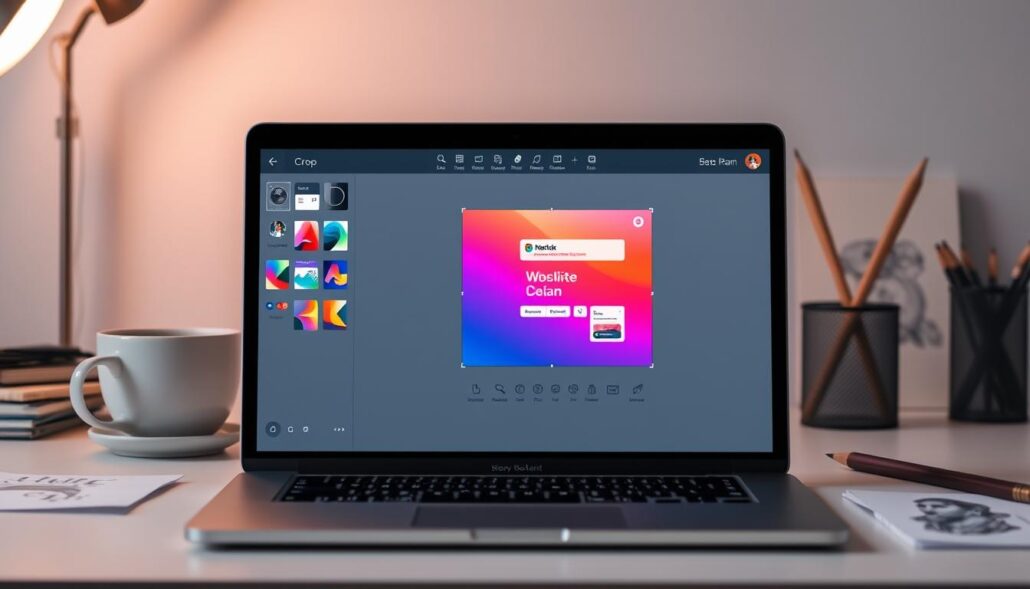
Being able to edit and annotate your screenshots well can make them much better. Learning these skills in Preview will take your screenshots to the next level.
Organizing and Sharing Your Screenshots
After taking the perfect screenshots on your Mac, it’s time to organize and share them. Managing your screenshot files can make a big difference. It helps you access and share them easily when you need to.
By default, your screenshots are saved in the “Pictures” folder, under “Screenshots.” This makes it simple to find and organize them. But, you can also change where they are saved to fit your needs.
To manage your mac screenshot file management, think about making a special folder. Or even a folder system. This is great if you take lots of screenshots for work, personal projects, or tutorials.
Sharing Your Screenshots
After organizing your screenshots, it’s time to share them. Mac makes it easy to share screenshots from mac in several ways:
- Messaging apps: You can attach your screenshots to messages in apps like iMessage, WhatsApp, or Slack.
- Email: You can insert your screenshots into an email or attach them as files.
- Cloud storage services: Upload your screenshots to places like iCloud, Google Drive, or Dropbox. Then, share the links with others.
By organizing mac screenshots and using these sharing options, you can make your workflow smoother. Your visual assets will be easy to share with others. Remember, the best system for where are screenshots saved on mac is one that works for you.
“Organizing your screenshots is the first step to making the most of them. With a little bit of effort, you can create a system that saves you time and frustration down the line.” – Productivity Expert, Jane Doe
Tips and Tricks for Efficient Screenshot Capture
As a Mac user, you have many tools and techniques to make screenshotting easier. Let’s look at some mac screenshot hacks, screenshot shortcuts on mac, and advanced mac screenshot techniques. These will help you work more efficiently with screenshot productivity tips.
One key shortcut is Command + Shift + 3. It captures your entire screen quickly. For specific areas, use Command + Shift + 4. And for even more options, try Command + Shift + 5 to open the Screenshot Preview toolbar.
There are also third-party apps that can improve your screenshot workflow. Tools like Skitch, Lightshot, and ShareX offer features like annotation, sharing, and cloud integration. They make capturing, editing, and sharing screenshots easy.
- Use
Command + Control + Shift + 3to capture the whole screen and save it automatically. - Use the Screenshot Preview toolbar for quick edits like cropping, resizing, and adding text.
- Check out third-party apps for a smooth screenshot experience, from capture to sharing.
By learning these mac screenshot hacks and screenshot productivity tips, you can make your workflow more efficient. Capture high-quality screenshots with less effort. Use these advanced mac screenshot techniques to boost your productivity.
Conclusion
As we wrap up this guide on taking screenshots on your Mac, let’s recall the main points. We’ve looked at the built-in tools and shortcuts for screenshots. We also explored third-party apps for more advanced features.
This guide shows how important it is to know how to take screenshots. It’s useful for many things, like fixing software issues or making tutorials. Being able to take clear and nice screenshots can really help.
Now, try out the methods and tools we talked about. See what works best for you. Remember, taking screenshots is not just about getting the job done. It’s also about making your digital life better and more fun.


Leave a Reply