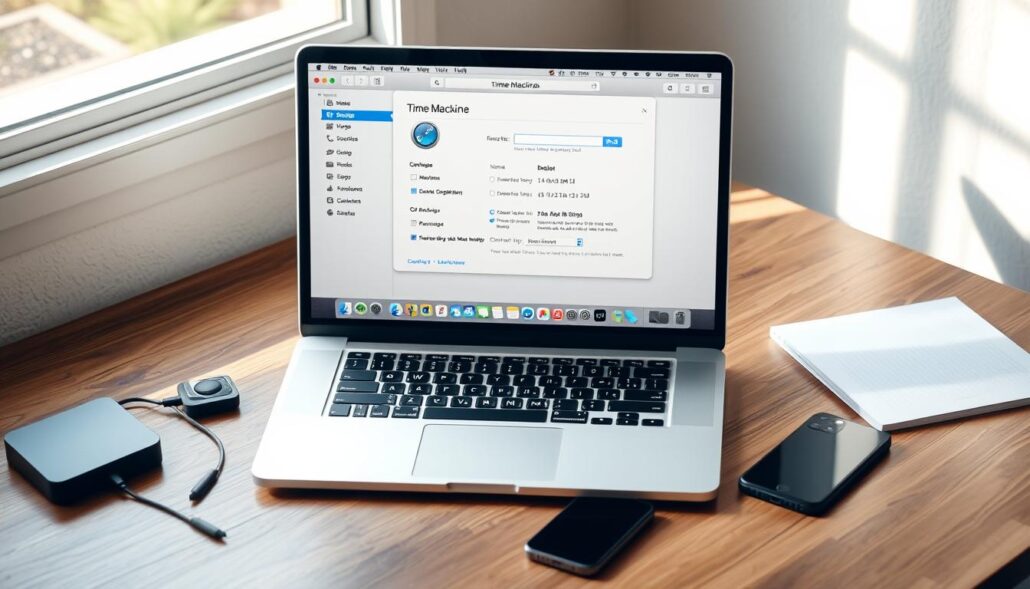
As a Mac user, it’s vital to have a good backup plan. This guide will show you how to use Time Machine, Apple’s backup tool. You’ll learn to protect your files, documents, and digital stuff.
By the end of this article, you’ll know how to set up Time Machine. You’ll also learn how to start your first backup and restore files. This is key to keeping your Mac’s data safe and easy to get back if something goes wrong.
Key Takeaways
- Time Machine is Apple’s built-in backup solution for Mac computers.
- Backups are crucial for protecting your data from loss due to hardware failures, ransomware, or human error.
- Setting up Time Machine is a straightforward process that allows you to configure backup drives and customize backup options.
- Restoring files from a Time Machine backup is easy, enabling you to quickly recover from data loss.
- Understanding and troubleshooting common Time Machine issues can help ensure your backups are reliable and successful.
Introduction to Time Machine Backups
Keeping your Mac safe is key in today’s digital world. Backups are the heart of a strong mac data protection strategy. Time Machine, Apple’s backup tool, makes backing up your Mac easy and simple.
Why Backups are Crucial
Our Macs hold precious files, from family photos to important work documents. The importance of mac backups is huge. Things like hardware failures, software bugs, and accidental deletes can wipe out your data. A good backup plan is like an insurance policy against these disasters.
Time Machine: Apple’s Built-in Backup Solution
Time Machine was introduced with macOS Leopard. It changed the game by making backups easy and user-friendly. This system creates snapshots of your Mac automatically. You can easily get back individual files, folders, or even your whole system if you need to.
| Feature | Description |
|---|---|
| Automated Backups | Time Machine runs in the background, continuously backing up your Mac without any manual intervention. |
| Snapshot-Based Backup | Time Machine takes periodic snapshots of your Mac, allowing you to travel back in time and retrieve older versions of files. |
| Seamless Restore | Restoring files, folders, or even your entire system is straightforward, thanks to Time Machine’s intuitive interface. |
Using Time Machine helps make sure your mac data protection strategy is solid. It keeps your digital stuff safe from unexpected problems.
Preparing for Time Machine Backup
Before you start your Time Machine backup, make sure your Mac is ready. This step is key to a smooth backup process. Let’s look at what you need to do to prepare your Mac for time machine, time machine backup readiness, and time machine backup prerequisites.
First, pick a good backup drive. You can use an external hard drive, a NAS device, or a USB flash drive. Choose one that can hold all your data now and in the future.
- Make sure your backup drive works with your Mac and has enough space.
- Update your Mac to the latest macOS version for Time Machine compatibility.
- Remove any files or apps you don’t need to speed up the backup.
Also, check your system settings to make sure your time machine backup readiness is top-notch. This includes setting up automatic backups, choosing when to back up, and picking what not to back up.
“Preparing your Mac for Time Machine backup is a crucial step in ensuring the success and reliability of your backups.”
By taking these steps, you can prepare your mac for time machine and meet all your time machine backup prerequisites. This will help you have a smooth and reliable backup experience.
Configuring Time Machine Settings
Setting up Time Machine on your Mac is key to keeping your files safe. You need to pick the right backup drive and adjust settings to fit your needs. This ensures your Mac and files are well-protected.
Selecting a Backup Drive
Choosing the right backup drive is the first step. Time Machine works with many devices like external hard drives and cloud services. Think about size, speed, and how easy it is to move the drive when picking one.
Customizing Backup Options
After picking a drive, you can tweak Time Machine settings. You can change how often it backs up, what files to skip, and how long to keep backups. These time machine backup settings help make backups work better for you.
Time Machine also lets you schedule backups and pick what not to back up. These time machine backup customization options help tailor your backups to your needs. This makes your time machine backup drive selection more effective.

“Configuring Time Machine settings is a crucial step in ensuring your Mac’s data is protected and easily recoverable in case of an emergency.”
By carefully setting up Time Machine, you ensure your Mac’s data is safe. Whether it’s choosing a fast drive or setting up your backups, you’re in control. This keeps your data secure and ready when you need it.
Initiating the First Time Machine Backup
Starting your first time machine backup on your Mac is key to keeping your data safe. This backup system, built into your Mac, keeps your files, documents, and settings safe. It’s ready to restore them if you need it. Here’s how to set up your first time machine backup.
- First, connect an external hard drive or NAS to your Mac. Time Machine needs a special drive to store your backups.
- Open System Preferences and click on the Time Machine icon.
- In Time Machine settings, click “Select Backup Disk” and pick the drive for your time machine backup setup.
- Time Machine will start the time machine initial backup process. It will make a full copy of your Mac. This might take a while, depending on how much data you have.
After the start first time machine backup is done, Time Machine will keep making backups. It does this at set times (like hourly or daily). This keeps your data safe all the time. By following these steps, you make sure your Mac’s important info is backed up and ready to go if you need it.
| Feature | Description |
|---|---|
| Backup Drive | Time Machine needs a special external hard drive or NAS to store your backups. |
| Backup Frequency | Time Machine makes backups at set times (like hourly or daily) to keep your data safe. |
| Backup History | Time Machine keeps a full history of your backups. This lets you restore files or your whole system from any time. |
By following these steps, you can start your first time machine backup. This is a big step in keeping your Mac’s data safe. Remember, regular backups are key to protecting your files and documents from loss or system failures.
How to Back Up Your Mac with Time Machine
The time machine backup process on your Mac is easy and hassle-free. After setting up Time Machine and picking a backup drive, it starts backing up your files automatically. This way, your important data stays safe and secure.
The time machine backup workflow is straightforward:
- Time Machine keeps an eye on your Mac, spotting new or changed files.
- It takes a full backup of your system every hour or so.
- These backups are saved on your chosen backup drive, keeping a record of your data over time.
The mac data backup with time machine is incredibly simple. You don’t need to start backups yourself or worry about forgetting. Time Machine works quietly in the background, protecting your data without any trouble.
“Time Machine is a lifesaver. It gives me peace of mind knowing that my important files are always backed up and readily available if I ever need to restore them.”
With Time Machine, you can go back to a previous version of your Mac. You can also get back deleted files or restore your whole system if something goes wrong. It’s a must-have for any Mac user who wants to keep their digital stuff safe.
Managing and Restoring Time Machine Backups
As a Mac user, it’s key to manage and restore your time machine backup data. This keeps your digital stuff safe and sound. You can easily get back specific files or your whole system from a backup. This means your important info is always ready for you.
Accessing Time Machine Backups
Looking through your time machine backup history is easy. Just open Time Machine on your Mac. You’ll see a timeline of your backups. This makes it simple to find and get the files or folders you need.
Restoring Files from a Backup
Restoring files with time machine file restoration is smooth. Time Machine helps you get back a file, folder, or your whole system. Just pick the backup, find the files you want, and Time Machine will take care of it. Your time machine backup data will be back on your Mac.
Learning how to manage and access your time machine backup is crucial. It keeps your data safe and lets you work or play without worrying about losing it.

Troubleshooting Time Machine Issues
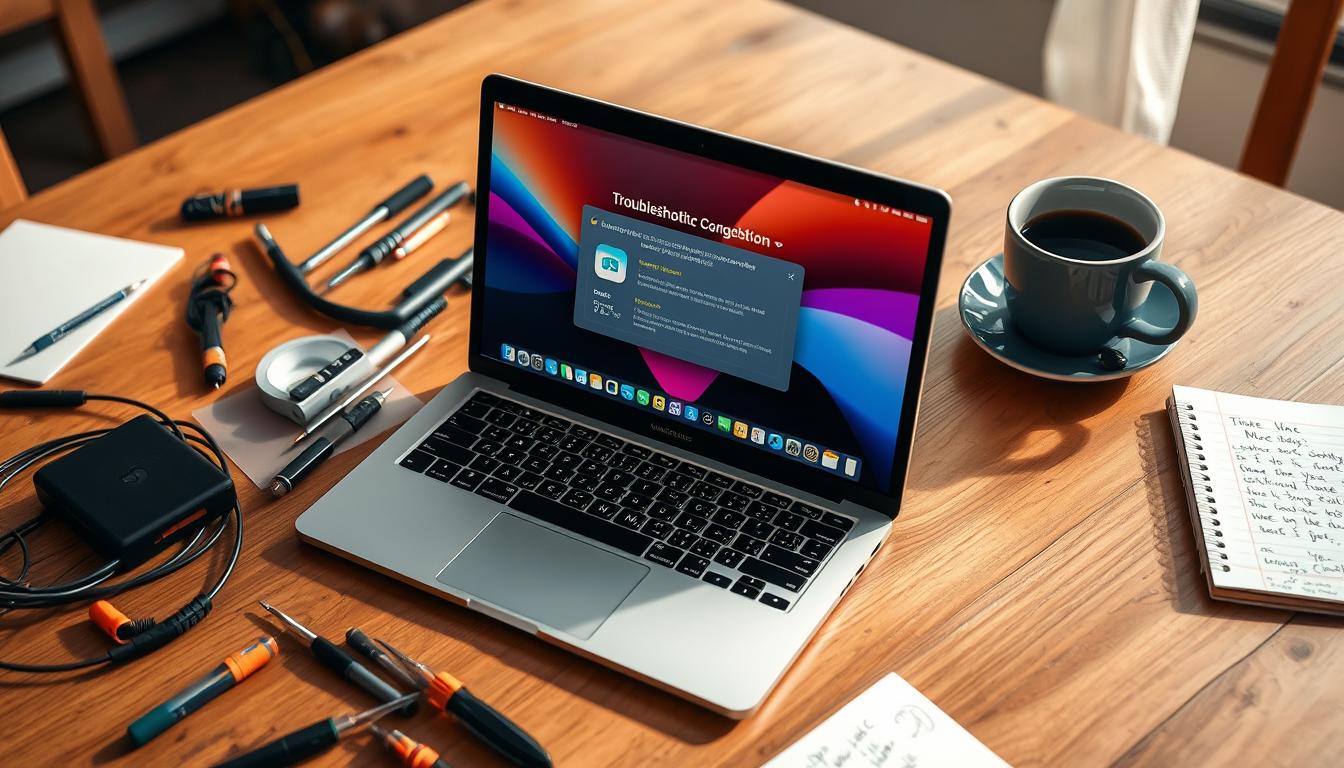
Time Machine is usually easy to use and reliable for backups. But sometimes, you might face problems. It’s important to fix these issues quickly to keep your backups safe and your Mac running smoothly. Here, we’ll look at common Time Machine problems and how to solve them.
Common Problems and Solutions
One big issue is when Time Machine can’t finish a backup. This might happen if your backup drive is full, you have network problems, or software conflicts. If you’re seeing Time Machine errors, here are some steps to help:
- Make sure your backup drive has enough space. If it’s full, you need to free up space or use a bigger drive.
- Check if your Mac and backup drive are connected to the same network. Or, if the drive is plugged directly into your computer.
- Restart your Mac and the backup drive. This can fix any temporary problems.
- Turn off and then turn on Time Machine in System Preferences. This will start a new backup.
- If problems keep happening, use the Time Machine Repair tool. It can find and fix issues with your backups.
Another issue is when you can’t get files back from a Time Machine backup. This might be because the backup data is damaged or there are compatibility problems. Here’s what you can do:
- Check if your backup is okay by running a backup check in Time Machine’s settings.
- Try to restore a test file or folder. This will help you see if the backup works.
- If you can’t get specific files back, try using an older backup. The problem might be in that one backup.
- If all else fails, you might need to erase and start over with your backup drive. This means you’ll have to back up everything again.
By fixing these common problems, you can make sure your backups work well. And you’ll be able to get your data back when you need it.
| Problem | Solution |
|---|---|
| Backup drive full | Free up space or connect a larger drive |
| Network connectivity issues | Ensure the Mac and backup drive are on the same network |
| Corrupted backup data | Run a backup check and restore from an older snapshot |
| Compatibility problems | Erase and re-initialize the backup drive |
Best Practices for Time Machine Backups
Keeping your Mac’s data safe is key. Time Machine, Apple’s backup tool, is a great start. But, to keep your files safe, you need to follow some best practices. This includes setting up a good backup schedule and knowing how to keep your backups.
Also, it’s smart to use other backup methods along with Time Machine. This way, you have more protection for your Mac’s data.
Backup Schedule and Retention
Having a regular backup schedule is vital. Experts say to back up at least once a day. This way, you can quickly get back your files if something goes wrong.
Think about how long you need to keep your backups. Time Machine can keep hourly backups for 24 hours, daily backups for a month, and weekly backups for all months before that.
Additional Backup Strategies
Time Machine is great, but having more backup plans is even better. Here are some ideas:
- Use cloud services like iCloud, Dropbox, or Google Drive for extra safety
- Get external hard drives or NAS devices for more local backups
- Try cloning tools for a full, bootable backup of your system
By mixing Time Machine with these other methods, you make your data safer. This way, you’re ready for any disaster.
Consistency and having backups in different places are the secrets to good backup management. Follow these tips for Time Machine backups, and you’ll know your Mac’s data is safe and easy to get back when you need it.
Time Machine Alternatives
Apple’s Time Machine is great for backups, but Mac users might want something else. There are time machine alternatives, mac backup software, and mac backup solutions that fit different needs. They offer various features to protect your data.
Carbon Copy Cloner is a top choice. It makes full backups of your Mac, so you can easily go back if something goes wrong.
SuperDuper! is another great option. It does cloning and automated backups. It’s perfect for full-system backups that you can keep offsite for safety.
| Backup Solution | Key Features | Pricing |
|---|---|---|
| Carbon Copy Cloner | Bootable clones, scheduled backups | $39.99 |
| SuperDuper! | Cloning, automated backups | $27.95 |
| Backblaze | Continuous online backup, cloud storage | $6 per month |
Backblaze is great for cloud backups. It backs up your data online all the time. This adds extra protection against local problems or hardware failures.
Choosing the right time machine alternatives depends on your needs, budget, and what you like. Looking into these options can help you find the best way to protect your Mac data.
Conclusion
This guide has shown you how to back up your Mac with Time Machine. We talked about why backups are important. We also covered how to set up Time Machine and manage your backups.
Using Time Machine, you can keep your important files safe. This includes documents, photos, and music. It’s a reliable way to protect your data from loss or damage.
Consistency is key when it comes to backing up your data. I suggest setting up Time Machine or looking into other backup options. Regular backups are crucial for keeping your digital life safe. By doing this, you’re protecting your information for the future.


Leave a Reply