Are you ready to explore the power and flexibility of Linux? In this guide, I’ll show you how to install Linux on your PC. It doesn’t matter if you’re a tech expert or just starting out. You’ll learn how to set up your system with a Linux distribution you like.
Linux has become very popular lately. It’s a strong, open-source alternative to other operating systems. With many distributions available, you can find the perfect one for your needs.
This guide covers everything from picking the right Linux distribution to installing it. You’ll learn how to make a bootable USB or DVD, partition your hard drive, and install Linux. By the end, you’ll have a fully functional Linux system to explore and customize.
Key Takeaways
- Understand the benefits and versatility of the Linux operating system.
- Discover the wide range of Linux distributions available to suit your needs.
- Learn how to prepare your system for a successful Linux installation.
- Gain the knowledge to create a bootable Linux installation media.
- Follow step-by-step instructions to install Linux on your personal computer.
Introduction to Linux
Linux is an open-source operating system that’s growing in popularity. It’s free and customizable, unlike Windows and macOS. We’ll look at what Linux is, its benefits, and why it’s a good choice for your computer.
What is Linux?
Linux started with Linus Torvalds in 1991. It’s open-source, meaning you can see, change, and share its code. This has led to many Linux versions, each with its own look and feel.
Benefits of Using Linux
- Enhanced security: Linux is safer than Windows, with fewer viruses and malware.
- Better performance: It works well on older computers, saving resources.
- Greater flexibility: Linux can be customized to fit your needs perfectly.
- Access to free and open-source software: Linux has lots of free software for all kinds of tasks.
Linux is great for making old computers new again, improving security, or trying open-source software. Next, we’ll talk about picking the right Linux version for you.
Choosing a Linux Distribution
Choosing a Linux distribution can be tough with so many options. Knowing what to look for can help you pick the right one. Whether you’re new or experienced, looking at popular choices and their pros and cons is key. This ensures a smooth transition to open-source computing.
Popular Linux Distributions
Popular distributions include Ubuntu, Debian, Fedora, and CentOS. Ubuntu is great for beginners with its easy interface and strong community support. More advanced users might like Arch Linux for its customization and stability. For security, Kali Linux is a top pick. Business users often choose Red Hat Enterprise Linux (RHEL) or SUSE Linux Enterprise Server.
Factors to Consider When Selecting a Distribution
- Your level of Linux experience: Beginners need easy interfaces and lots of help. Experienced users want more control.
- System requirements: Make sure your hardware matches the distro’s needs.
- Security and privacy concerns: For security, look at Kali Linux or Tails.
- Community support and resources: Big communities, like Ubuntu and openSUSE, offer lots of help and tutorials.
- Software and application availability: Choose a distro with the tools you need.
By considering these factors, you can find the best linux distros for your needs. A linux distro comparison helps see what each offers. This guides you to the perfect how to choose linux distribution for your journey.
The Linux world is diverse, letting users customize their experience. With some research, you’ll find the perfect Linux distribution for your digital needs.
Preparing for Installation
Before you install Linux on your computer, make sure your system is ready. This ensures a smooth installation and helps pick the right Linux for your hardware.
System Requirements
The needs for installing Linux depend on the distribution you pick. Generally, you’ll need:
- At least 2GB of RAM, but 4GB or more is better for performance.
- 10GB of free storage space is a minimum, but 20GB or more is best.
- A processor with a speed of 1GHz or higher.
These are the minimums. A more powerful system will make Linux better for tasks like video editing or gaming.
Backing Up Your Data
Before installing Linux, back up your important data. This includes documents, photos, videos, and more. Use an external hard drive, cloud storage, or another reliable method to keep your data safe.
Backing up is key because the installation might change your hard drive. This could delete or modify your data. By backing up, you protect your files and can easily restore them if needed.
Preparing your system and backing up your data are key steps in installing Linux. By getting your computer ready, you avoid issues and enjoy a smooth transition to Linux.
Install Methods
There are three main ways to install Linux on your PC: Windows Subsystem for Linux (WSL), Virtual Machine (VM), and bare metal installation. Each method has its own benefits and things to consider. It’s key to know the differences before picking the right one for you.
Windows Subsystem for Linux (WSL)
WSL lets you run a Linux distribution inside your Windows system. It’s great for trying out Linux without fully switching to it. You can use Linux tools and utilities right from your Windows environment.
Virtual Machine (VM)
A virtual machine lets you create a separate virtual computer for Linux. This method gives you a controlled space for Linux, without touching your main Windows setup. VMs are flexible and let you easily switch between operating systems.
Bare Metal Installation
For a full Linux experience, choose bare metal installation. This means either replacing your current OS with Linux or setting up dual-boot. Bare metal gives you direct access to Linux but requires more setup work.
Whichever method you pick, make sure your system meets the hardware needs. Also, back up your important data before starting. With the right steps, you can easily add Linux to your computing life.
| Installation Method | Advantages | Considerations |
|---|---|---|
| Windows Subsystem for Linux (WSL) |
|
|
| Virtual Machine (VM) |
|
|
| Bare Metal Installation |
|
|
The choice of linux install methods depends on your Linux experience, system needs, and personal taste. WSL is easy to start with, while VMs and bare metal offer more powerful and customizable options.
“Linux is an open-source operating system that provides a powerful and flexible alternative to proprietary solutions like Windows and macOS. Exploring the different linux install methods can help you find the best fit for your computing needs.”
Creating a Bootable USB or DVD
To install Linux on your computer, you need a bootable USB drive or DVD. You can make one using the Linux ISO file. Tools like Rufus (for Windows) or Etcher (for all platforms) make this easy.
First, download the Linux distribution you want, like Ubuntu, Debian, or Linux Mint. These come with ISO files that can be burned to a USB or DVD. After getting the ISO, use Rufus or Etcher to make the bootable media.
- Insert a USB drive with at least 4GB of space (16GB or more is better).
- Download and open Rufus or Etcher.
- Pick the Linux ISO file you downloaded.
- Choose the USB drive as the media destination.
- Hit “Start” or “Flash” to start making the bootable USB.
Once it’s done, you’ll have a bootable USB for installing Linux. To install, access your computer’s BIOS or boot menu. Then, pick the USB drive as the main boot device.
The steps to get to the BIOS or boot menu vary by computer model. Check your manufacturer’s guide. After booting from the USB, you can start the Linux installation.
Making a bootable USB or DVD is key for a smooth Linux install. By following these steps, you can create a portable Linux setup for any compatible system.
Partitioning Your Hard Drive
If you want to run both Linux and Windows on your PC, you need to split your hard drive. This means making separate areas for each system. You can use Windows Disk Management to do this easily.
Shrinking Your Windows Partition
To make room for Linux, follow these steps:
- Open the Windows Disk Management tool by searching for “Disk Management” in the Start menu.
- Find the partition where Windows is installed, usually the “C:” drive.
- Right-click on the Windows partition and select “Shrink Volume” to reduce its size.
- Decide how much space you want for Linux. Aim for at least 20-25 GB for the root partition and 4-8 GB for the swap.
- Click “Shrink” to make the space available for Linux.
With the space ready, you can start the Linux installation. This will let you switch between Windows and Linux when you start your computer.
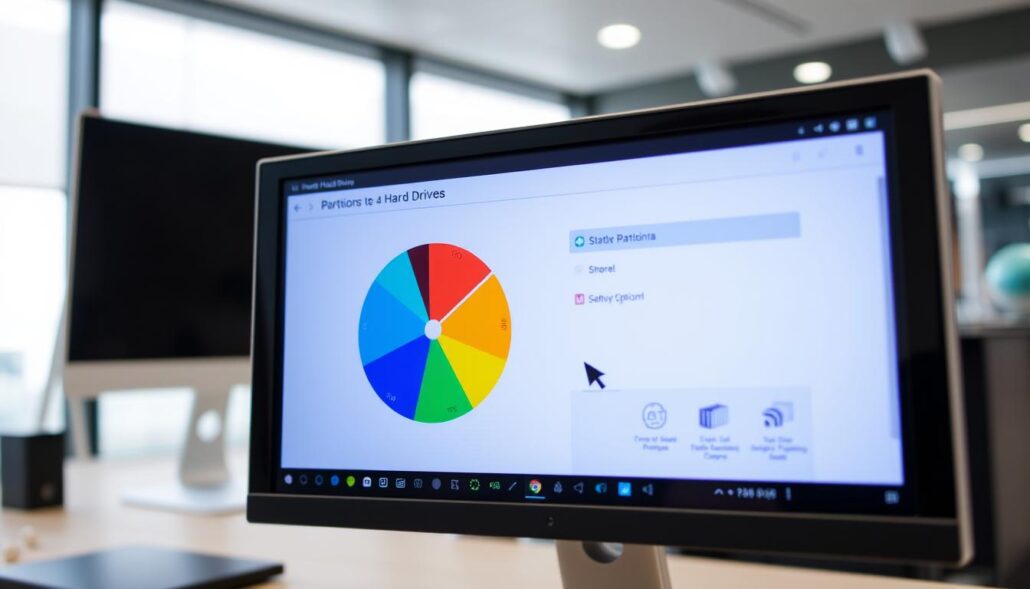
“Partitioning your hard drive is a crucial step when dual-booting Linux and Windows. By carefully managing your disk space, you can ensure a smooth and seamless experience switching between the two operating systems.”
Keep in mind, steps might change based on your Linux and Windows versions. Always check your Linux distribution’s installation guide for the latest instructions.
How to Install Linux on Your PC: Step-by-Step Guide
Installing Linux on your PC can be very rewarding. It’s great for both tech experts and beginners. We’ll show you how to set up Linux on your PC step by step.
First, pick a Linux distribution that fits your needs. Ubuntu, Fedora, and Debian are good for beginners. Each has its own features and options, so choose wisely.
- Make a bootable USB or DVD. You’ll need at least 8GB of space. Tools like Rufus for Windows or Etcher for macOS and Linux can help.
- Boot from the media. You might need to change your BIOS settings to use the USB or DVD.
- Follow the installation wizard. It will help you set up your keyboard, Wi-Fi, and user account.
- Choose how to partition your hard drive. You can install Linux alongside Windows or start fresh.
- Let the installer work. The time it takes depends on your computer and the Linux version.
- After it’s done, restart your computer. You’ll see your new Linux system.
The installation steps might change a bit based on your Linux choice. But these main steps work for most. Keep your system updated for security and best performance.
| Linux Distribution | Ease of Use | System Requirements | Recommended For |
|---|---|---|---|
| Ubuntu | Very Easy | 2GB RAM, 25GB storage | Beginners, Daily Use |
| Fedora | Moderate | 2GB RAM, 20GB storage | Developers, Enthusiasts |
| Debian | Moderate | 1GB RAM, 10GB storage | Experienced Users, Servers |
Linux can change how you use your computer. It offers control, customization, and security. By following this guide, you’re ready to install Linux and explore its possibilities.
“Linux is not just an operating system, it’s a revolution in computing.”
Dual-Booting Linux and Windows
Setting Up the Boot Menu
Dual-booting Linux and Windows needs careful setup of the boot menu. This ensures a smooth user experience. The GRUB boot loader is key, showing a menu at startup to choose between Linux and Windows.
To set up dual-boot, you need a few things. You’ll need two USB drives or DVD-Rs, a valid Windows 10 license, and the Windows Media Creation Tool. Also, you’ll need the Ubuntu ISO image and Etcher to make a bootable Ubuntu USB drive.
When installing Windows, give it at least 40GB. Leave the rest for Ubuntu. This makes sure both systems have enough space to work well.
Try out Ubuntu before installing it. Check if it works well with your needs, like internet, audio, and video. You can pick between Minimal and Normal installation, based on your software needs.
After setting up dual-boot, you’ll see a screen to partition the disk. This is a key step. It makes sure both systems have what they need to run smoothly.
Dual-booting Ubuntu and Windows is great. Windows is good for software, while Ubuntu is fast, stable, and secure. It’s perfect for programmers, data scientists, and IT pros. It lets them compare different platforms.
“Dual-booting Linux and Windows is a powerful combination that empowers users to leverage the unique advantages of both operating systems.”
| Feature | Windows | Ubuntu |
|---|---|---|
| Software Compatibility | Excellent | Good |
| Stability | Good | Excellent |
| Security | Good | Excellent |
| Cost | Paid | Free |
| Learning Curve | Moderate | Moderate |
Post-Installation Setup
After installing Linux, there are key steps to take. First, update your system with the right commands. This keeps your OS safe and brings new features.
Updating Your Linux System
Updating your system depends on your Linux version. For Ubuntu, use sudo apt update and sudo apt upgrade in the Terminal. Fedora users should run sudo dnf update. Keeping your system updated is vital for security and stability.
Configuring User Accounts
Next, create user accounts for yourself or others. Use your Linux’s user tools or the command line. Separate accounts boost security and let everyone have their own settings.



Leave a Reply