In this blog, we’ll delve into the powerful capabilities of ImageMagick for image conversion and file size reduction on Windows. This guide will walk you through the installation process, as well as the essential commands needed to transform your images without sacrificing quality.
Introduction to Image Conversion
Image conversion is the process of changing an image file from one format to another. This can be essential for various reasons such as compatibility, file size reduction, or improving image quality. Whether you are a graphic designer, a photographer, or simply someone looking to manage their image files, understanding how to convert images effectively can save you time and enhance your workflow.
Common image formats include JPEG, PNG, GIF, and TIFF. Each format has its unique characteristics and use cases. For instance, JPEG is widely used for photographs due to its efficient compression, while PNG supports transparency and is preferred for graphics.
What is ImageMagick?
ImageMagick is a powerful software suite designed for creating, editing, and converting bitmap images. It supports over 200 image formats, making it one of the most versatile tools available for image manipulation. ImageMagick can be used via command-line, which allows for automation and batch processing of images, a feature that is particularly useful for large projects.
This tool is ideal for developers, web designers, and anyone needing to perform a wide range of image-related tasks, including resizing, cropping, or converting formats. With its extensive capabilities, ImageMagick provides a robust solution for managing images efficiently.
Downloading ImageMagick
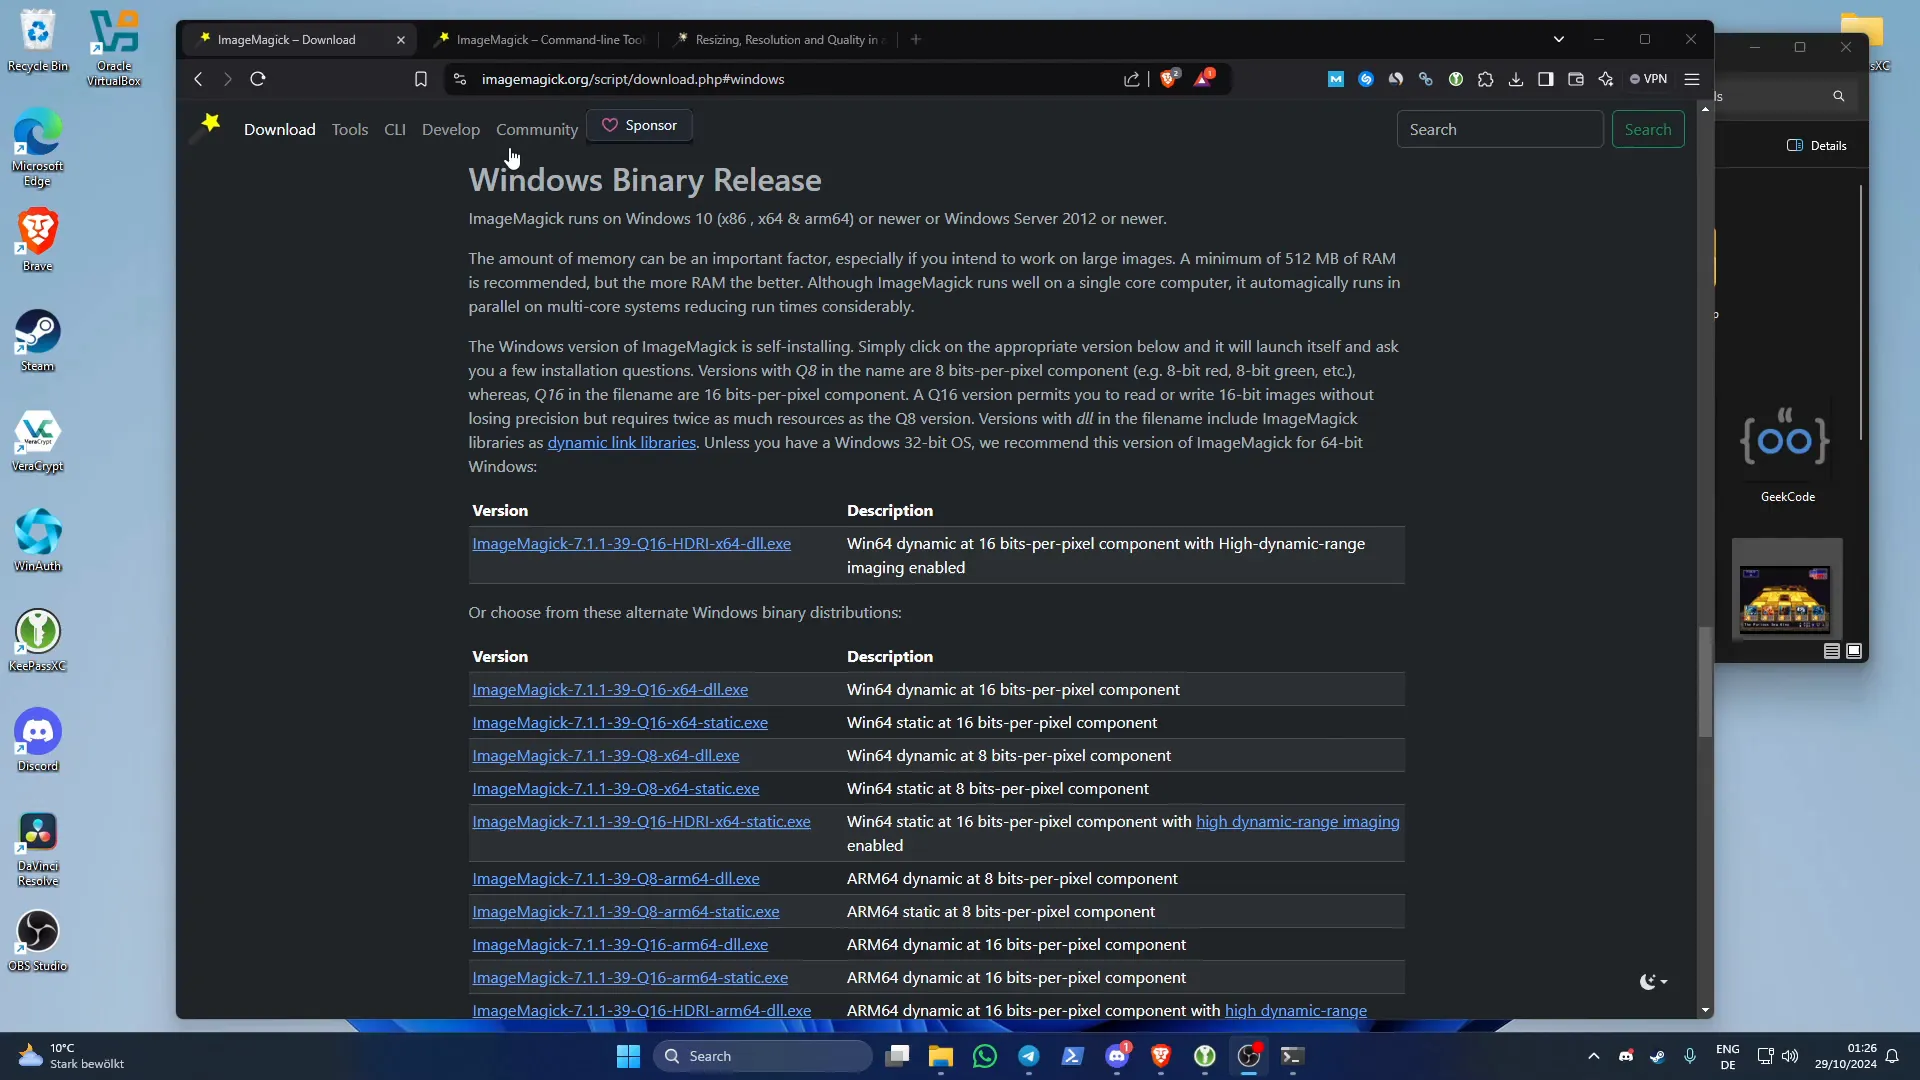
To start using ImageMagick, you first need to download it from the official website. Here’s how:
- Visit the ImageMagick download page.
- Select the version suitable for Windows.
- Download the executable (.exe) file to your computer.
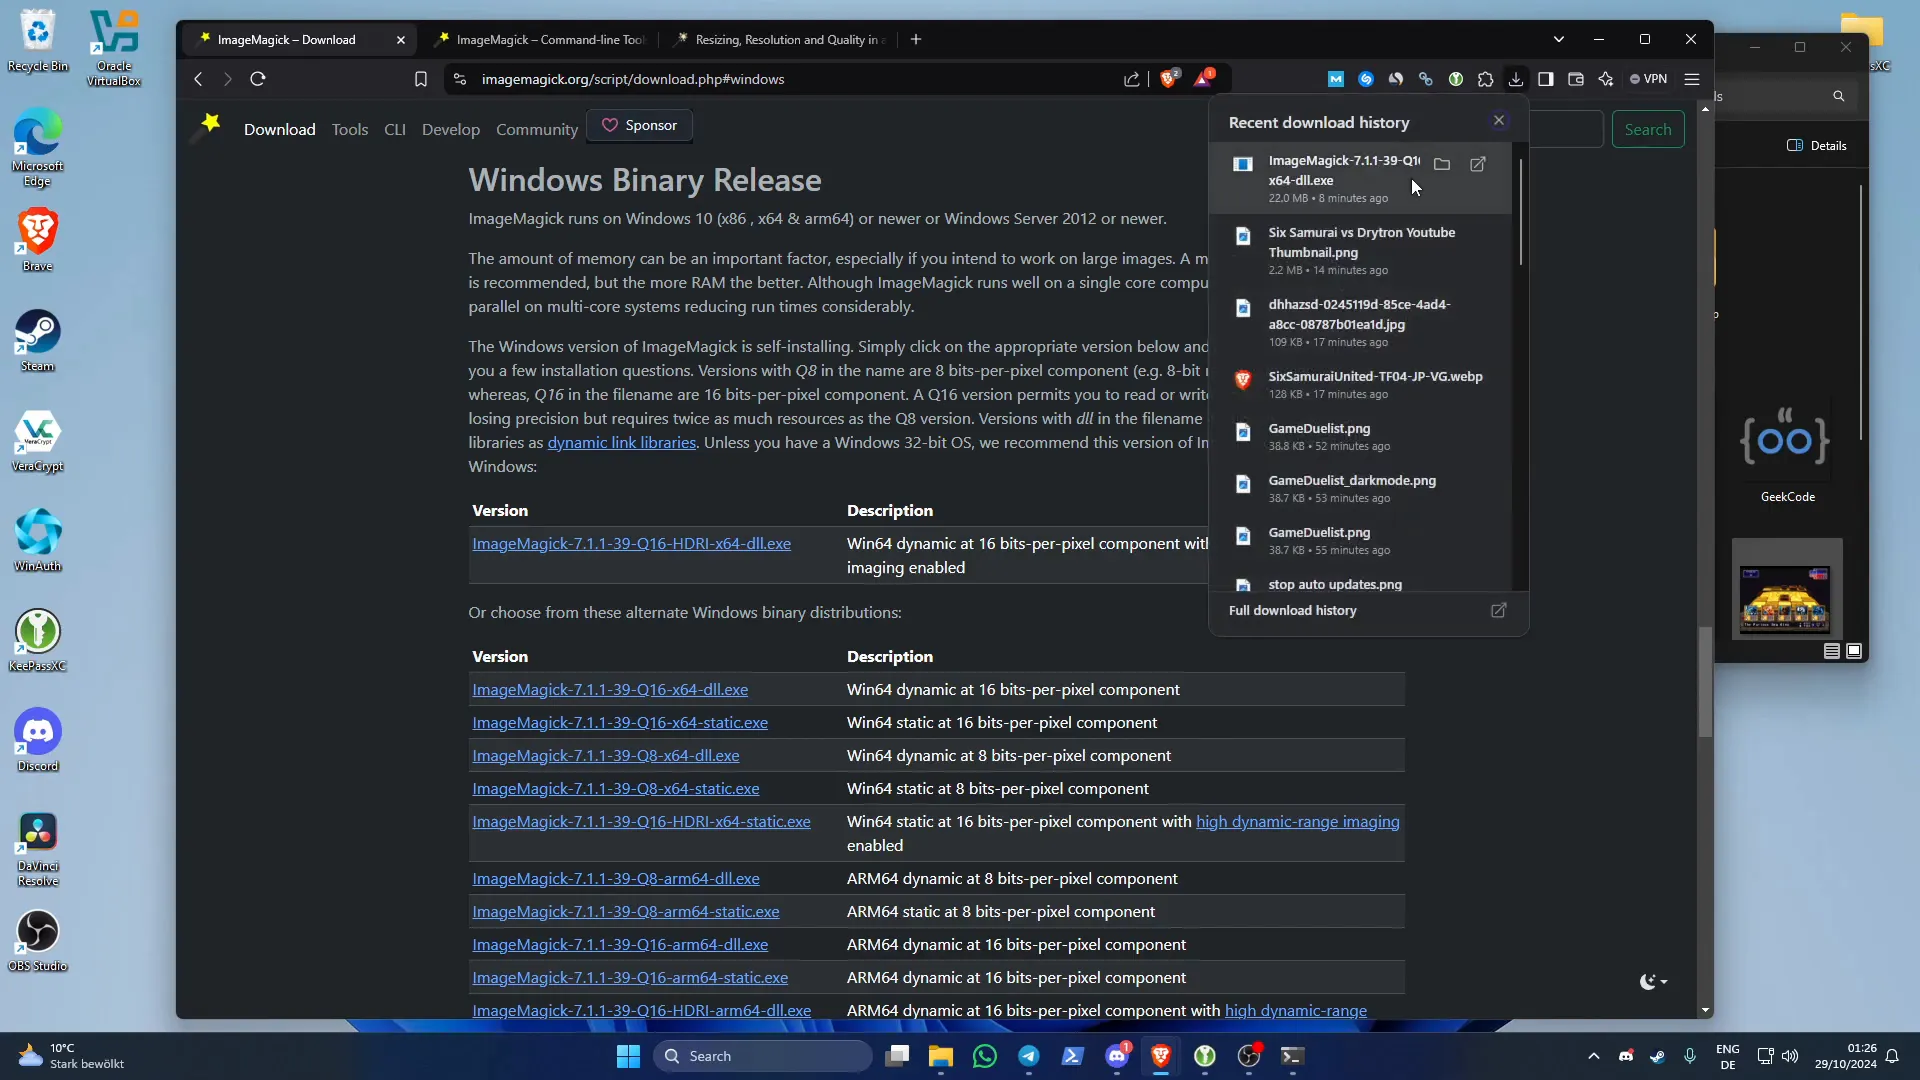
Once the download is complete, you are ready to install the software.
Installing ImageMagick and Legacy Utilities
The installation process is straightforward. Follow these steps:
- Run the downloaded .exe file.
- Follow the prompts in the installation wizard.
- When prompted, make sure to select Legacy utilities to install additional command-line tools.
This will allow you to access all the features of ImageMagick from the command line, which is essential for image conversion tasks.
Navigating to PowerShell
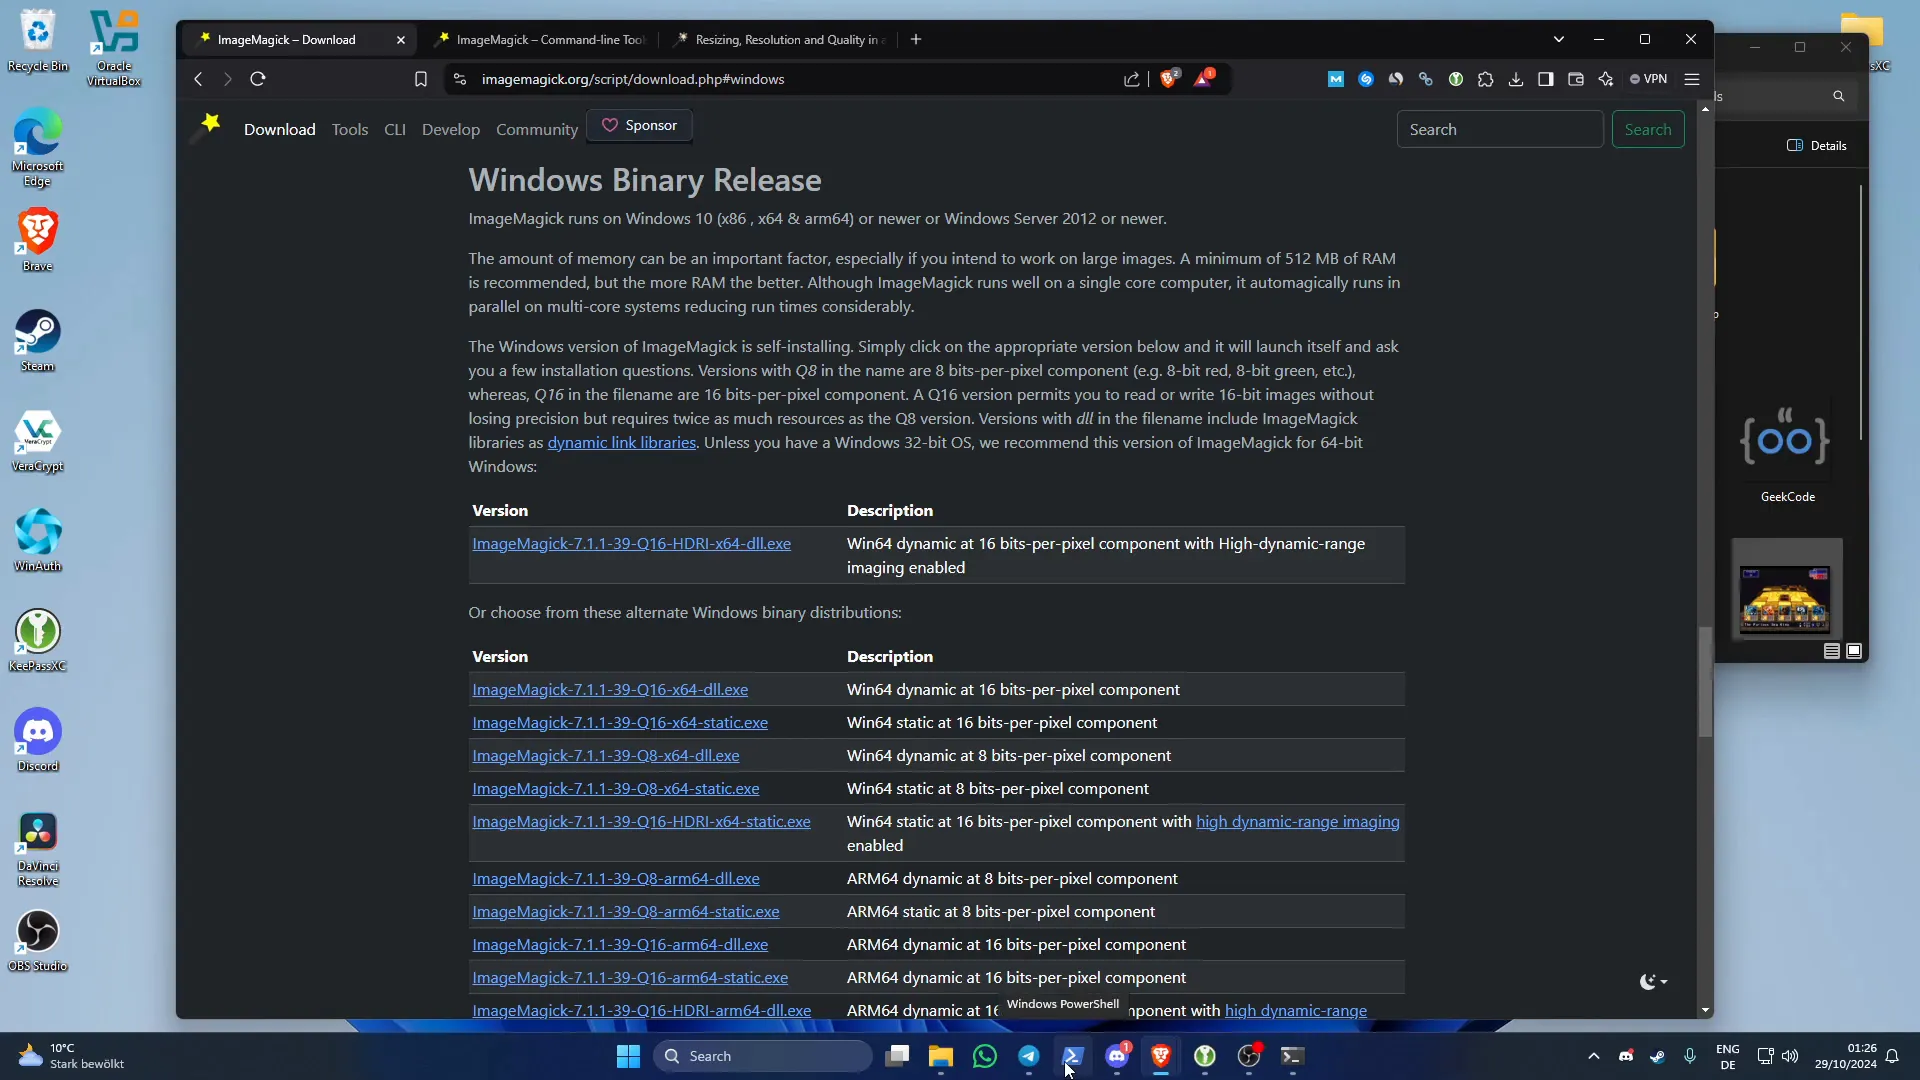
After installing ImageMagick, you will need to access PowerShell to execute commands. Here’s how to open PowerShell:
- Click on the Start menu.
- Type PowerShell in the search bar.
- Select Windows PowerShell from the results.
You can also run PowerShell as an administrator for elevated permissions, which may be necessary for certain tasks.
Preparing Your Image for Conversion
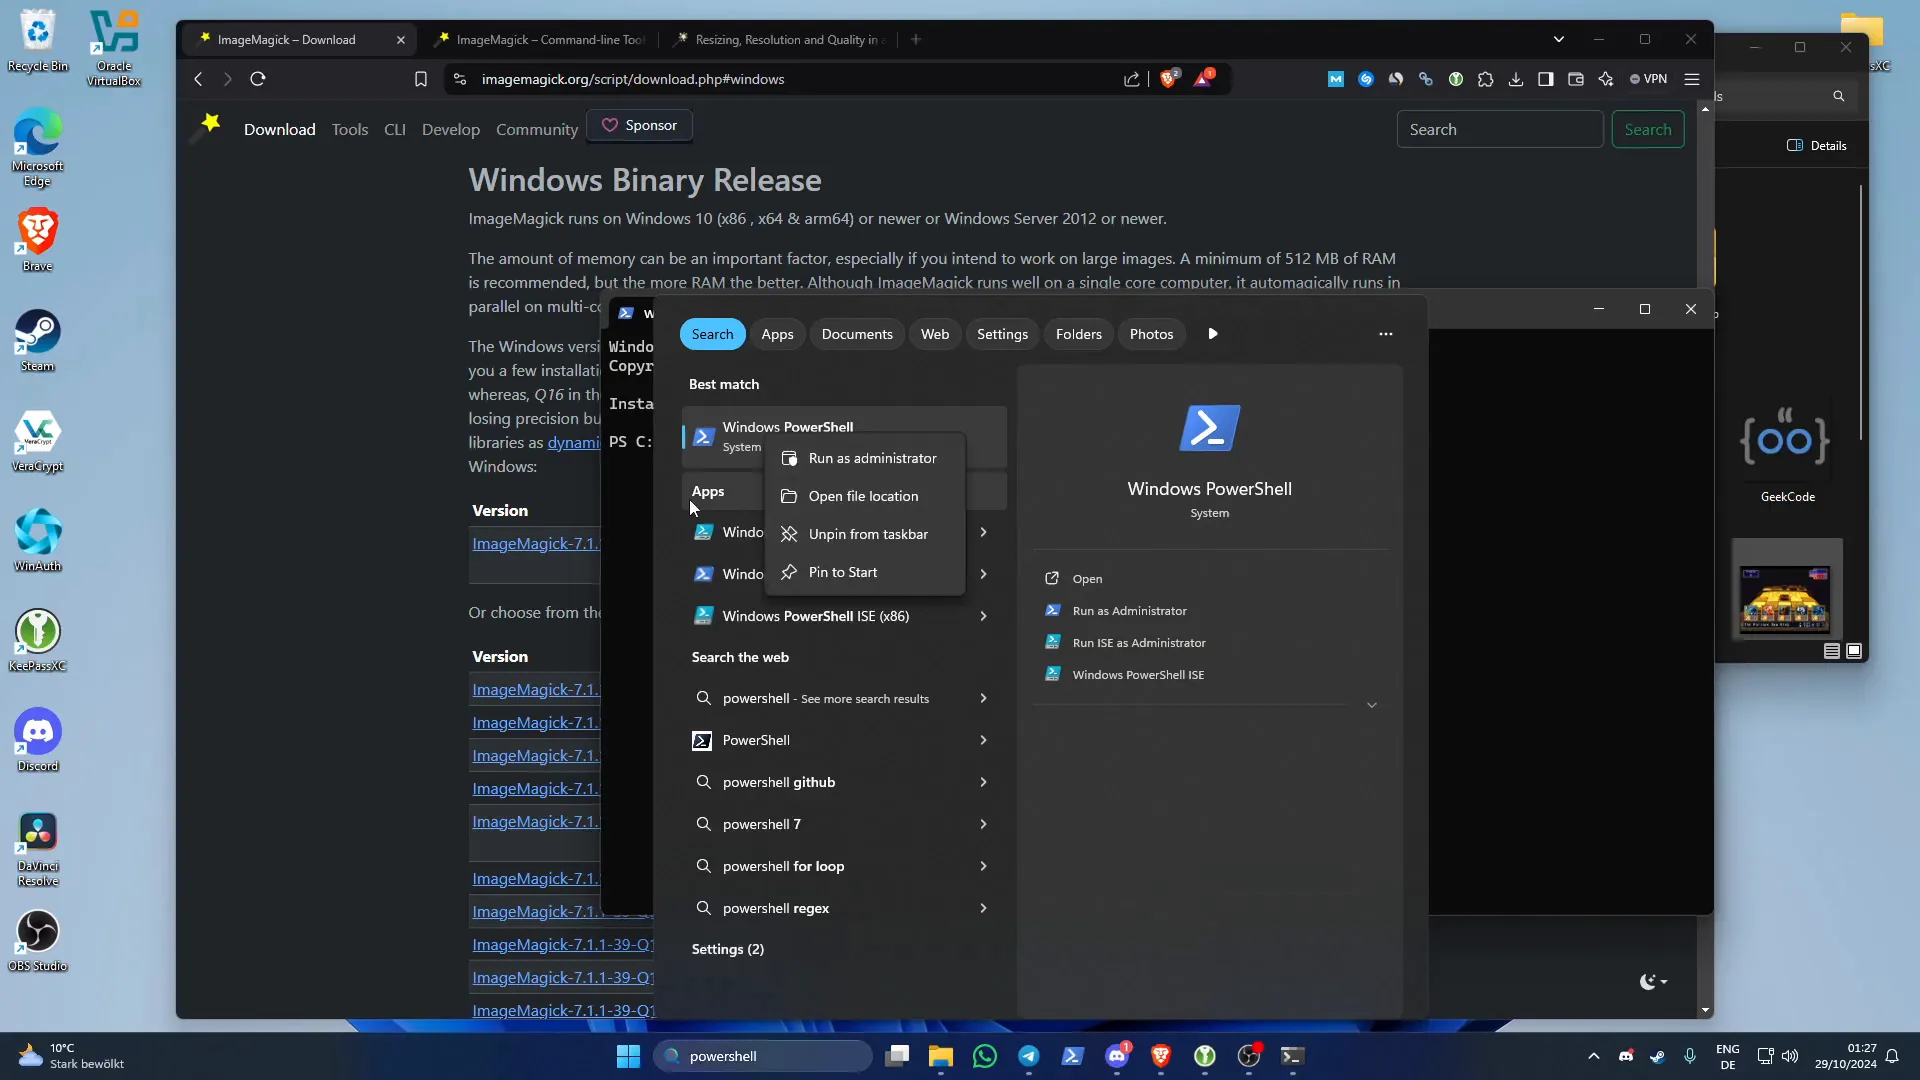
Before you convert an image, ensure it is in a location that is easy to access. Here’s how to prepare your image:
- Navigate to the folder containing the image you want to convert using PowerShell.
- Use the cd command to change directories. For example,
cd C:\Users\YourUsername\Pictures. - Verify that your image file is present by using the dir command.
Once you’ve located your image, you’re ready to execute the conversion command.
Basic Image Conversion Commands
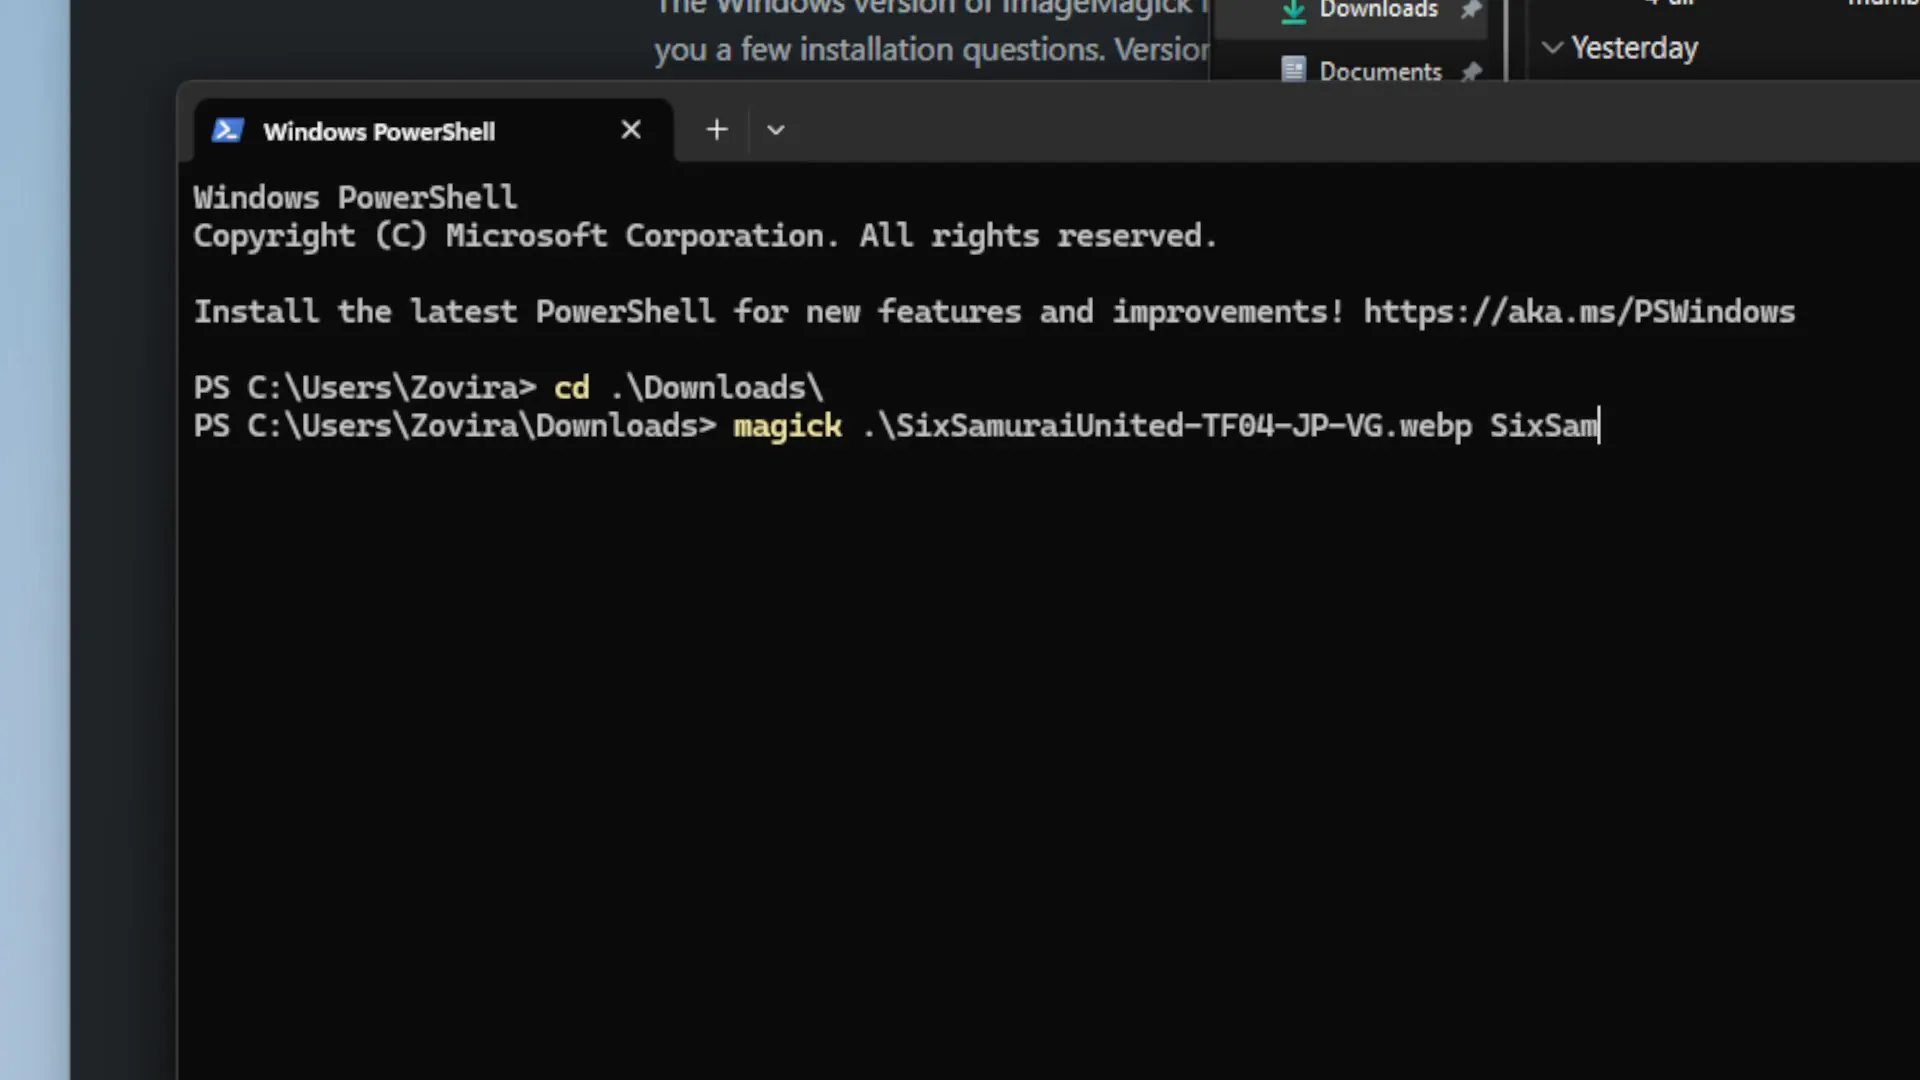
ImageMagick provides a straightforward way to convert images between different formats. The basic syntax for conversion is:
magick input_file.ext output_file.extFor example, to convert a file named image.webp to image.jpg, you would use:
magick image.webp image.jpgThis command takes the input file, processes it, and creates a new file in the specified format. It’s as simple as that!
Understanding File Size Differences
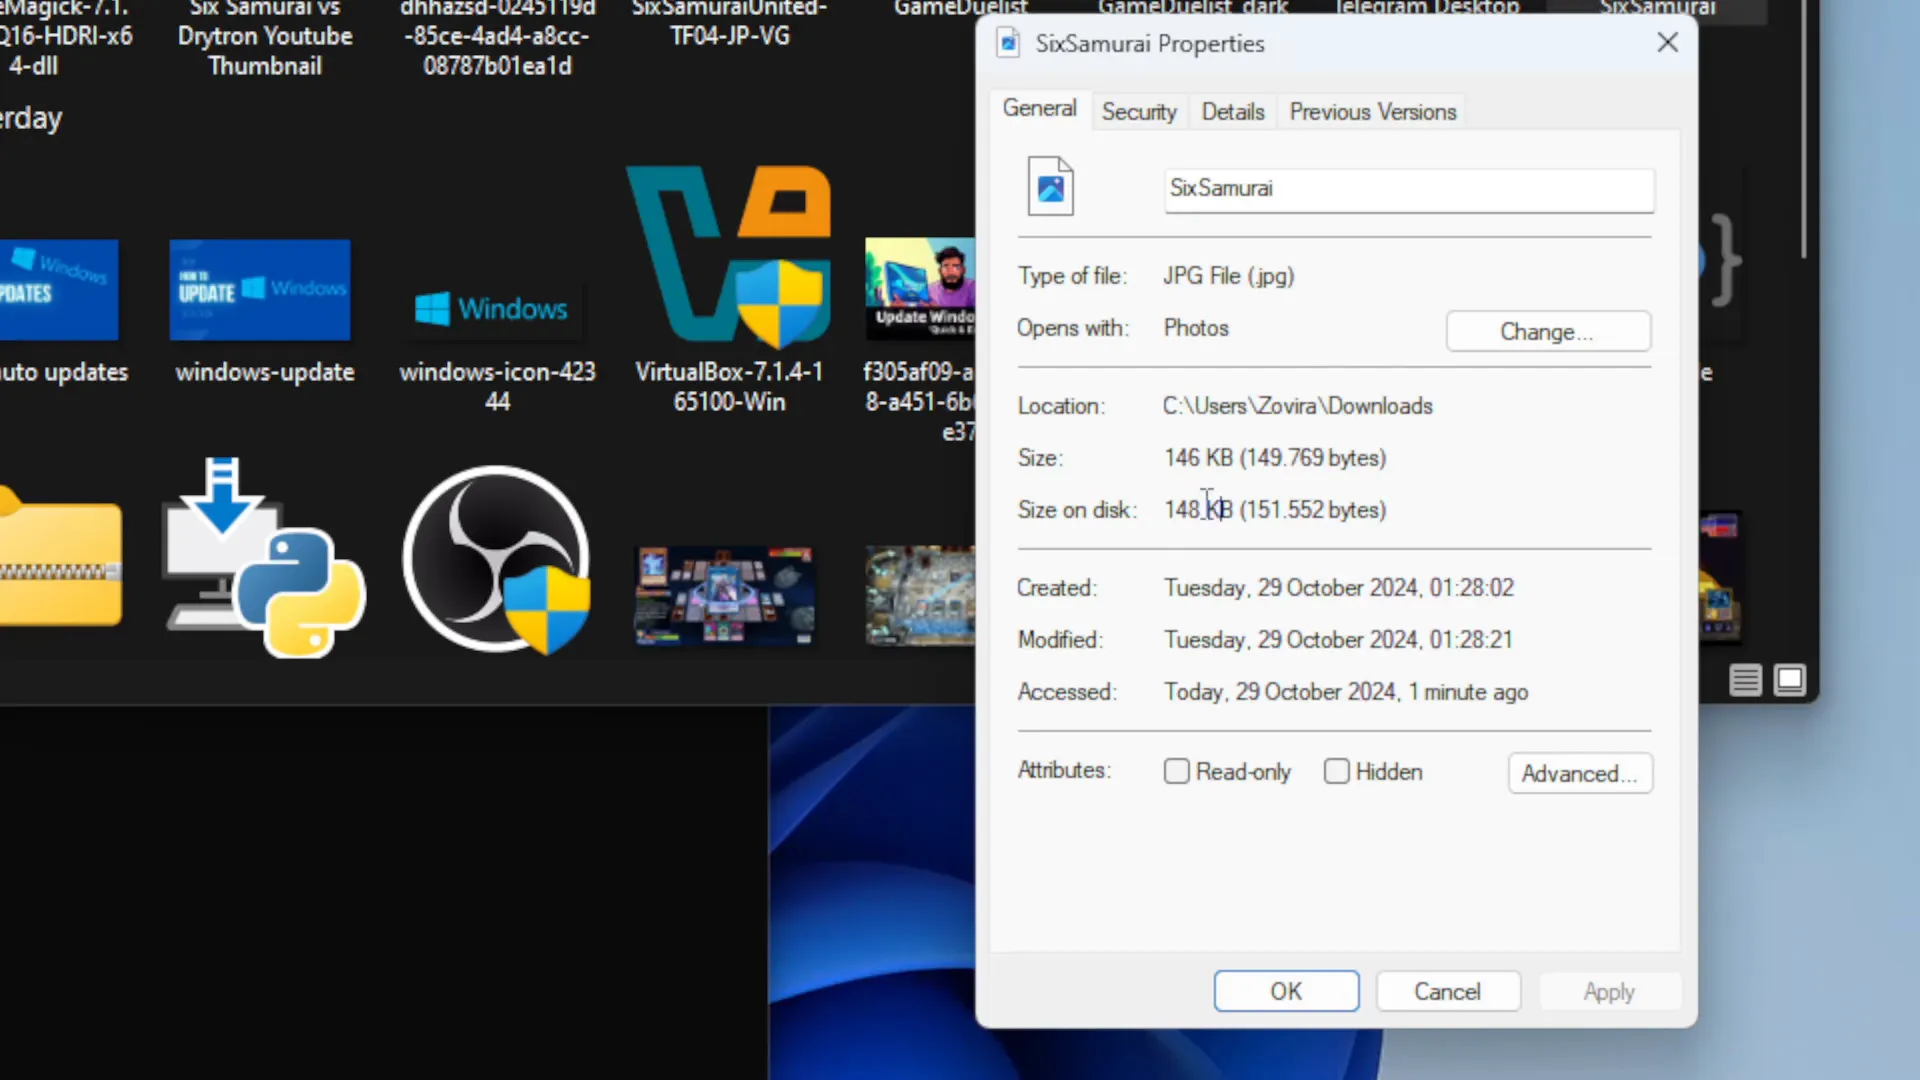
Different image formats have varying file sizes due to their compression methods. For instance, JPEG files are generally smaller than PNG files because JPEG uses lossy compression, which reduces file size by discarding some image data. PNG, on the other hand, uses lossless compression, preserving all image data but resulting in larger file sizes.
When converting images, it’s crucial to consider the output format’s impact on file size. Depending on your needs, you may prefer a smaller file size for web use or higher quality for printing.
Changing Image Quality and Size
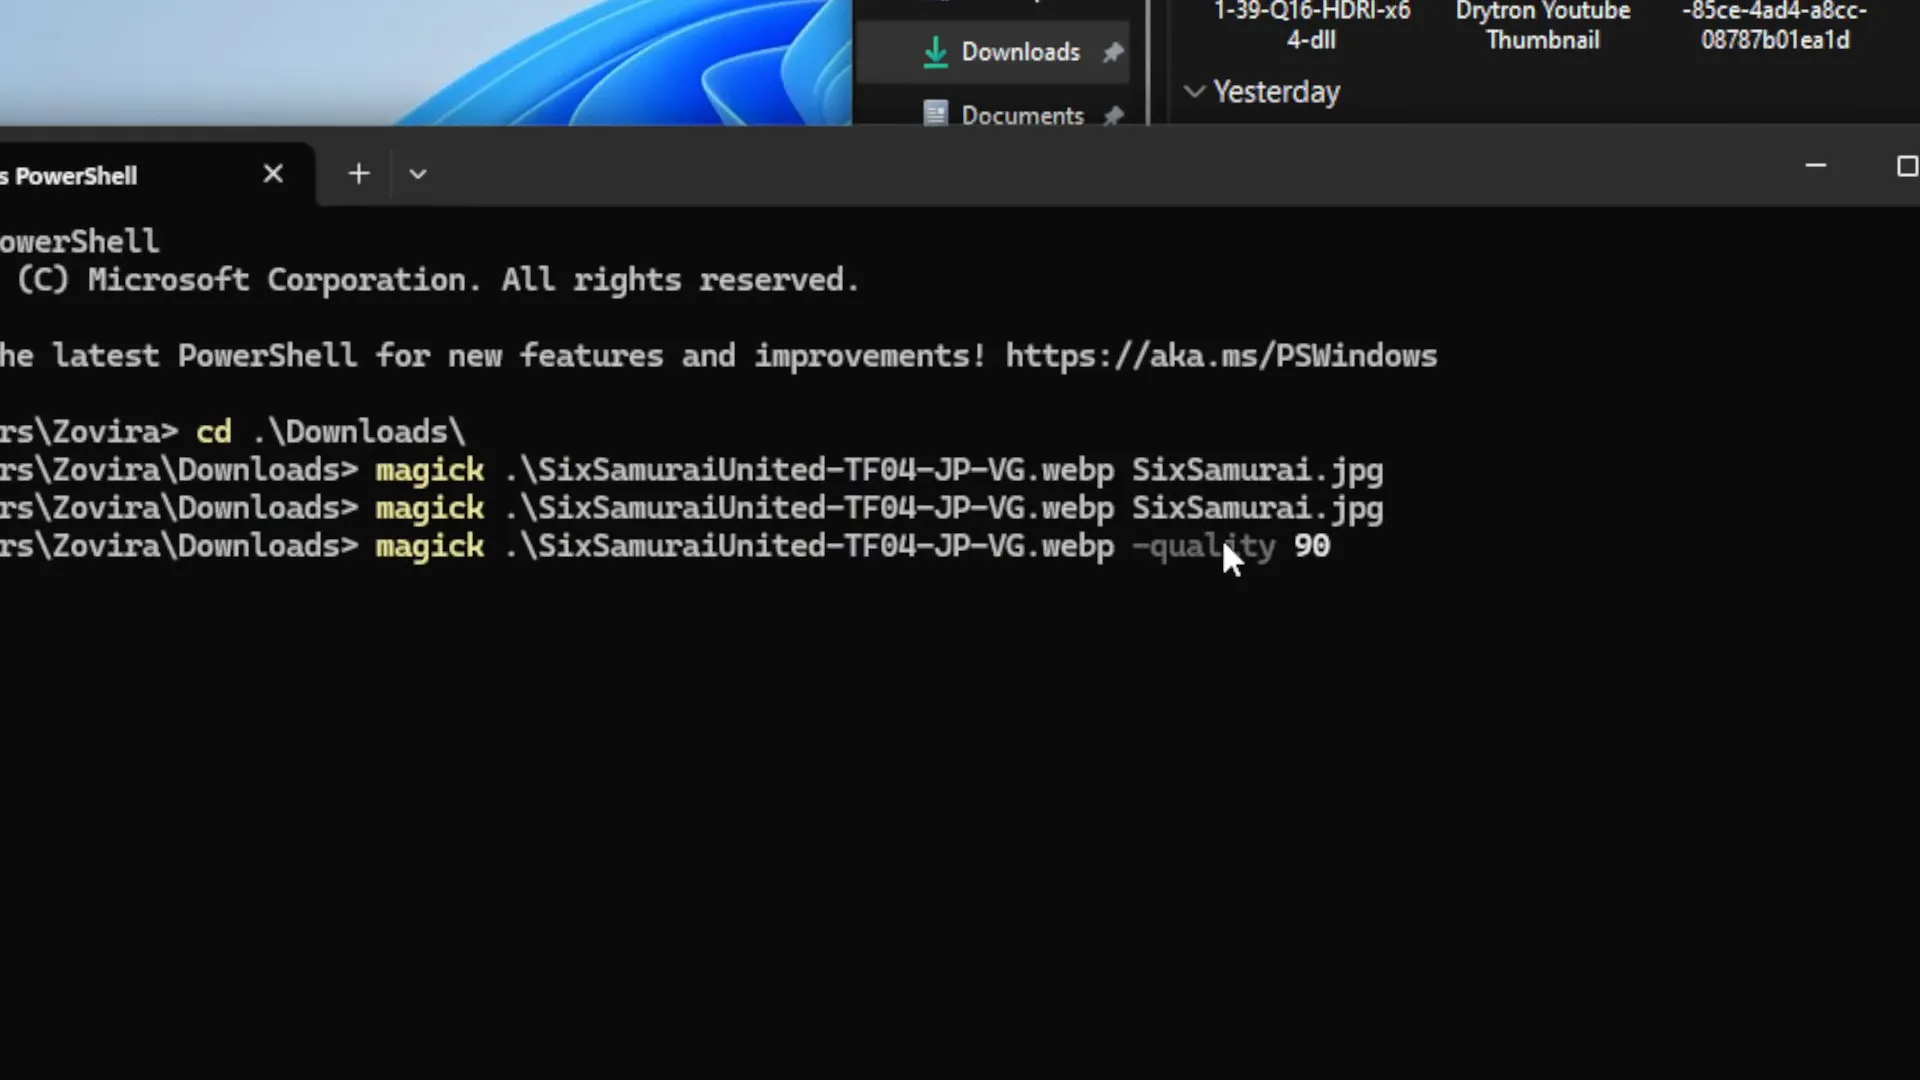
ImageMagick allows you to adjust the quality of the output image during conversion. This is particularly useful when you want to reduce file size without compromising too much on quality. The syntax for changing quality is:
magick input_file.ext -quality percentage output_file.extFor example, if you want to convert an image to JPEG with 50% quality, you would use:
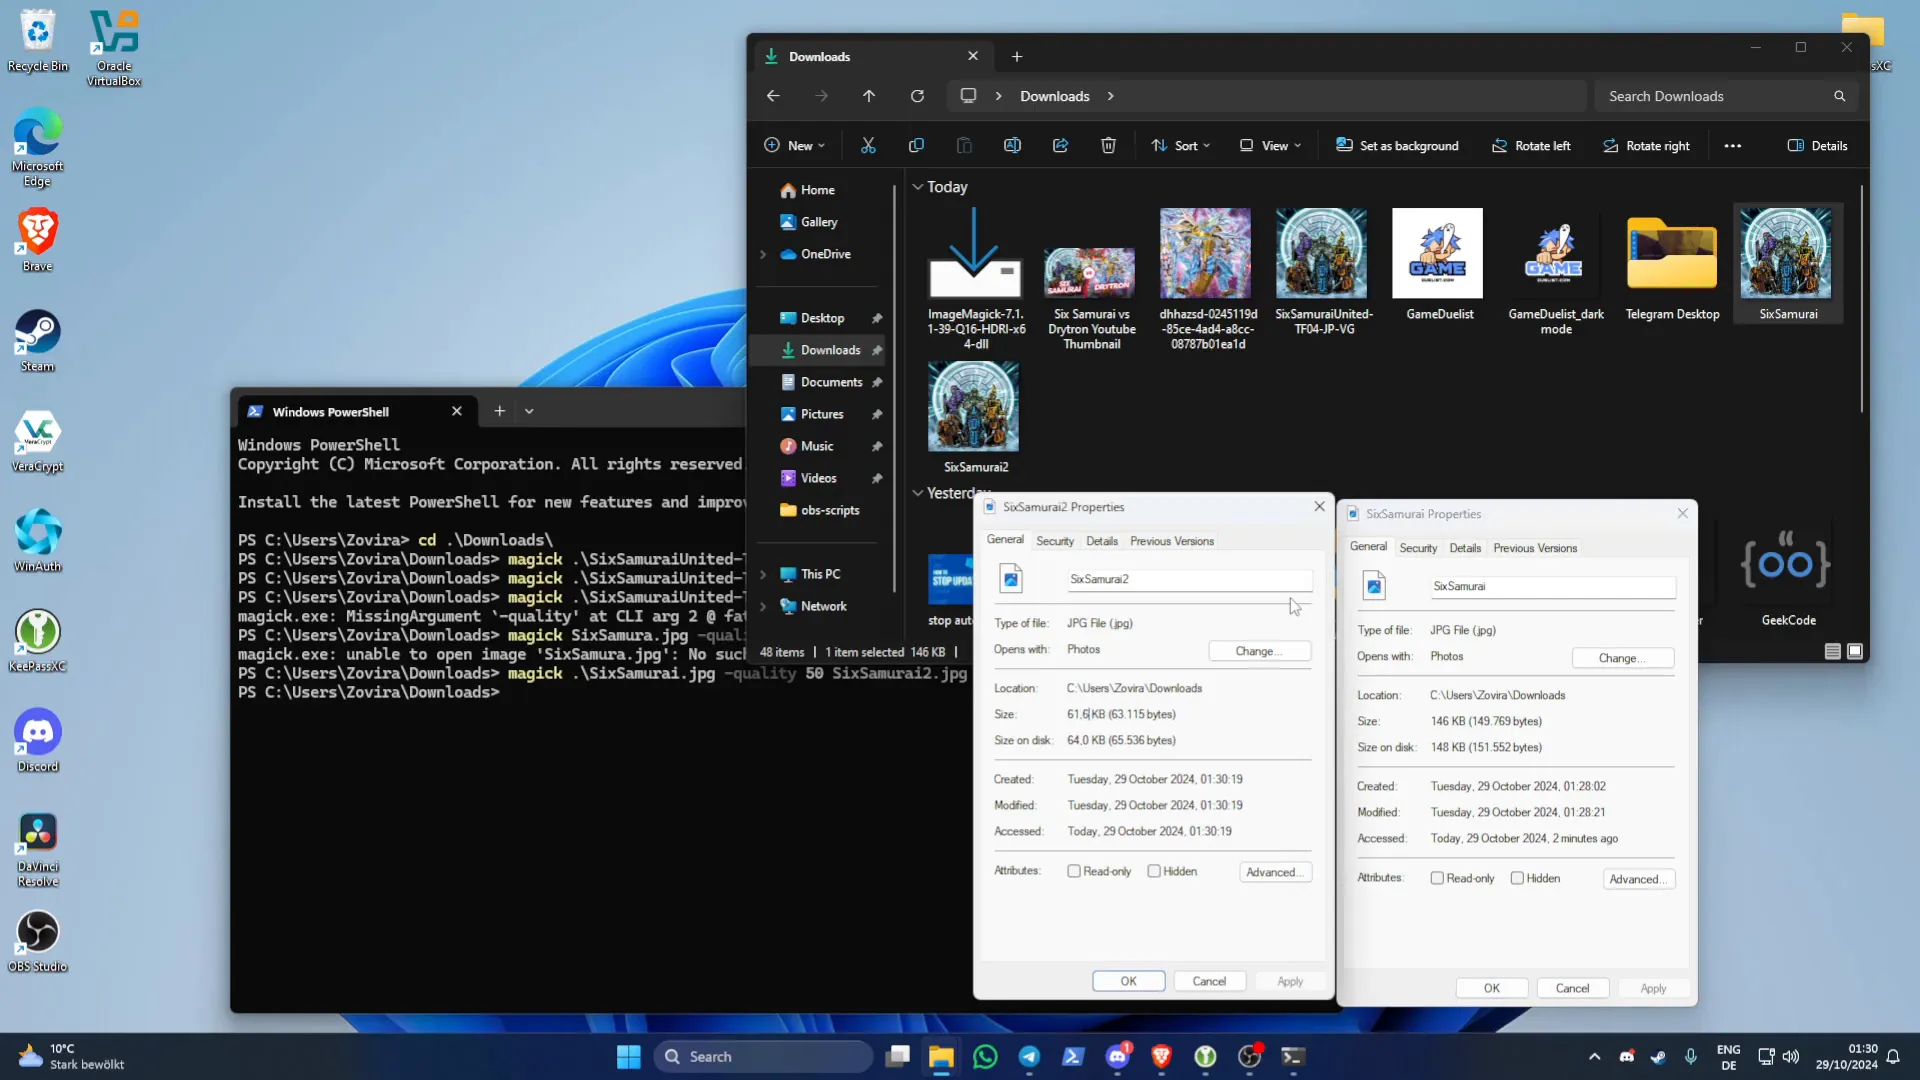
magick image.webp -quality 50 image.jpgThis command effectively reduces the image quality, resulting in a smaller file size while maintaining a visually acceptable image.
Executing Quality Reduction Commands
To execute quality reduction commands, you first need to determine the current size of your image. Use the identify command to check the image details:
magick identify image.jpgOnce you have the file size, you can proceed to adjust the quality. For instance, if the original file size is 148 KB and you want to reduce it, simply specify the desired quality:
magick image.jpg -quality 50 image_reduced.jpgAfter running the command, you can check the new file size to ensure it meets your requirements.
Comparing Image Quality and File Size
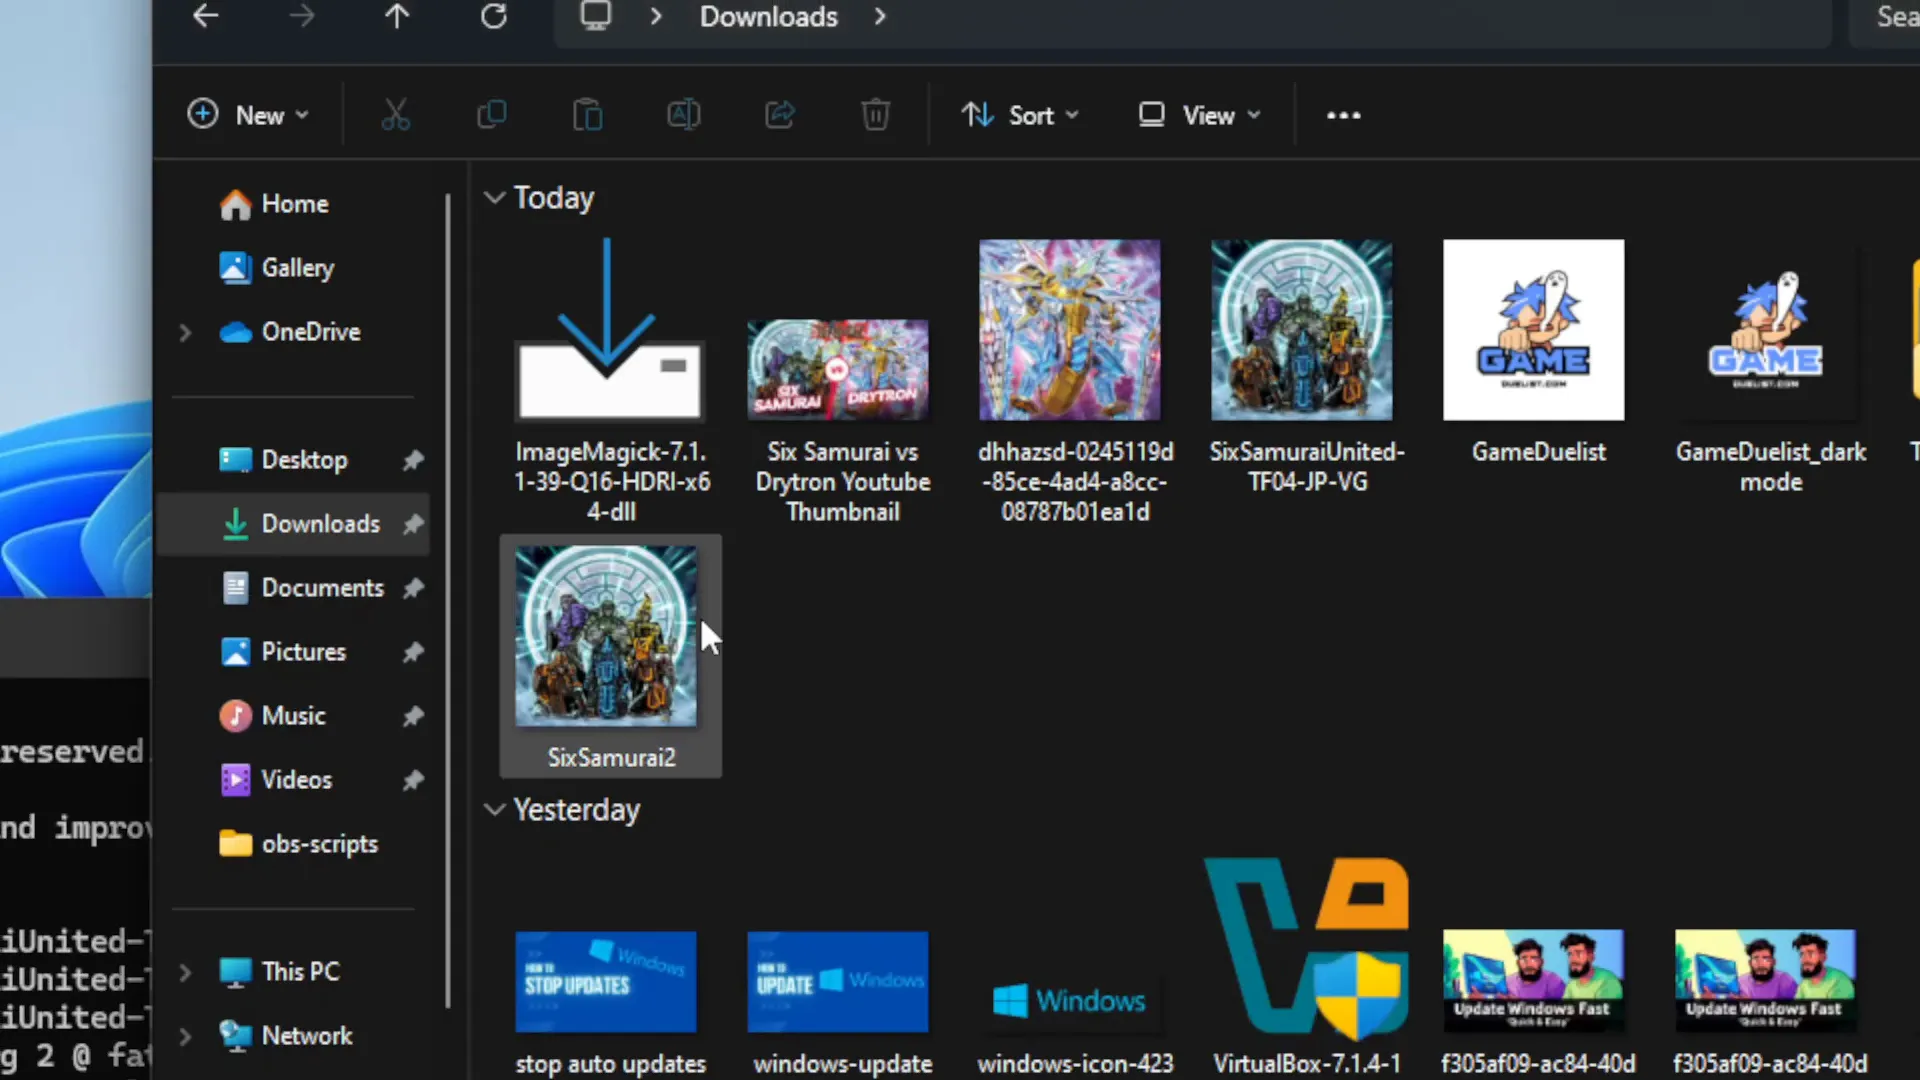
After converting images and adjusting quality, it’s essential to compare the original and modified files. Pay attention to both the visual quality and the file size. For example, an image processed at 50% quality may only increase in size slightly, but the visual differences may be negligible.
- Visual Comparison: Open both images side by side to assess quality differences.
- File Size Check: Use the dir command in PowerShell to check the file sizes.
This process ensures that you are getting the most efficient balance between quality and file size for your needs.
Conclusion and Final Thoughts
Mastering image conversion with ImageMagick on Windows can greatly enhance your workflow, allowing you to efficiently manage image files and optimize them for various uses. By understanding basic commands, file size differences, and quality adjustments, you can ensure that your images meet the necessary standards without unnecessary bloat.
Remember to experiment with different settings and formats to find the best solutions for your projects. Happy converting!


Leave a Reply