Updating your operating system is crucial for maintaining security and optimizing performance. If you’re using Windows 11, it’s essential to keep it up to date. In this guide, we’ll walk you through the simple steps to check for updates and install them efficiently.
Step 1: Accessing the Update Feature
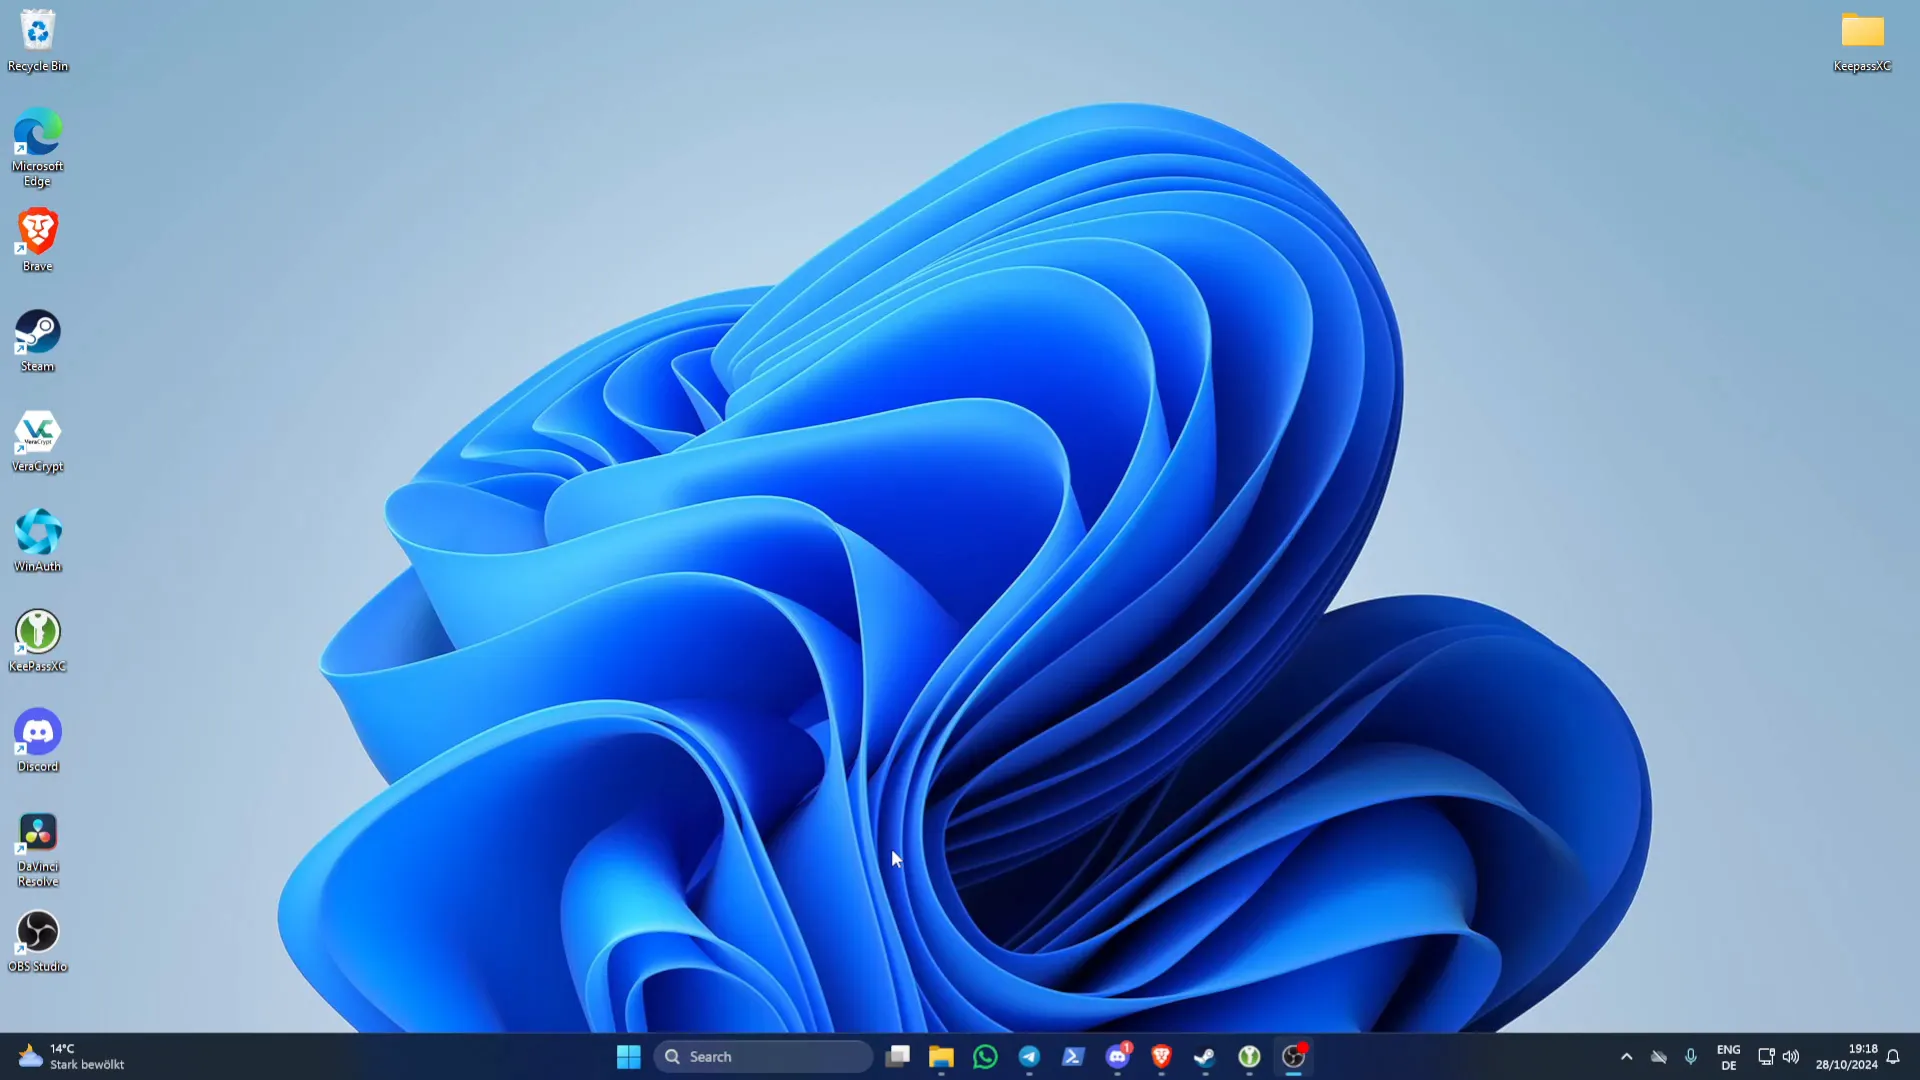
To begin, you need to access the update feature on your Windows 11 system. This is straightforward and can be done in a few clicks. First, locate the search bar on your taskbar.
Type in check for updates and hit Enter. This action will lead you directly to the Windows Update settings.
Step 2: Checking for Updates
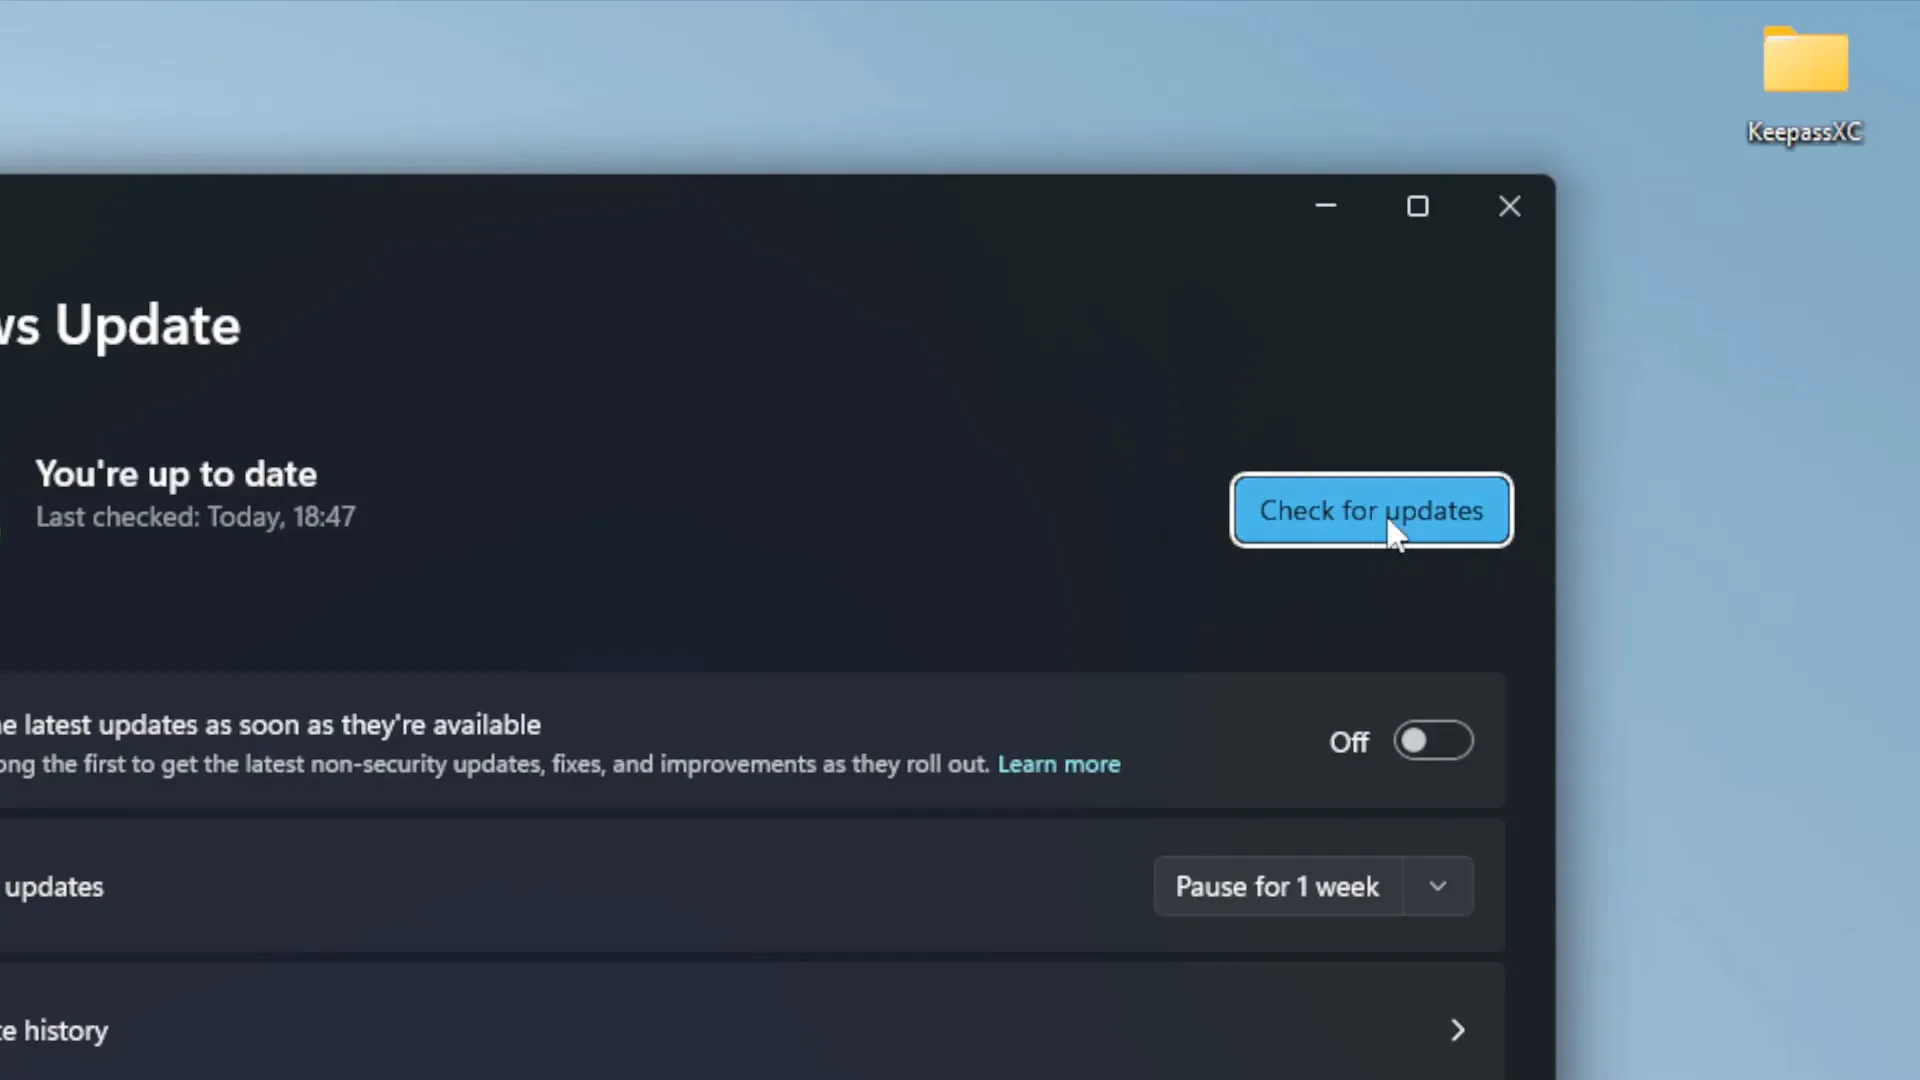
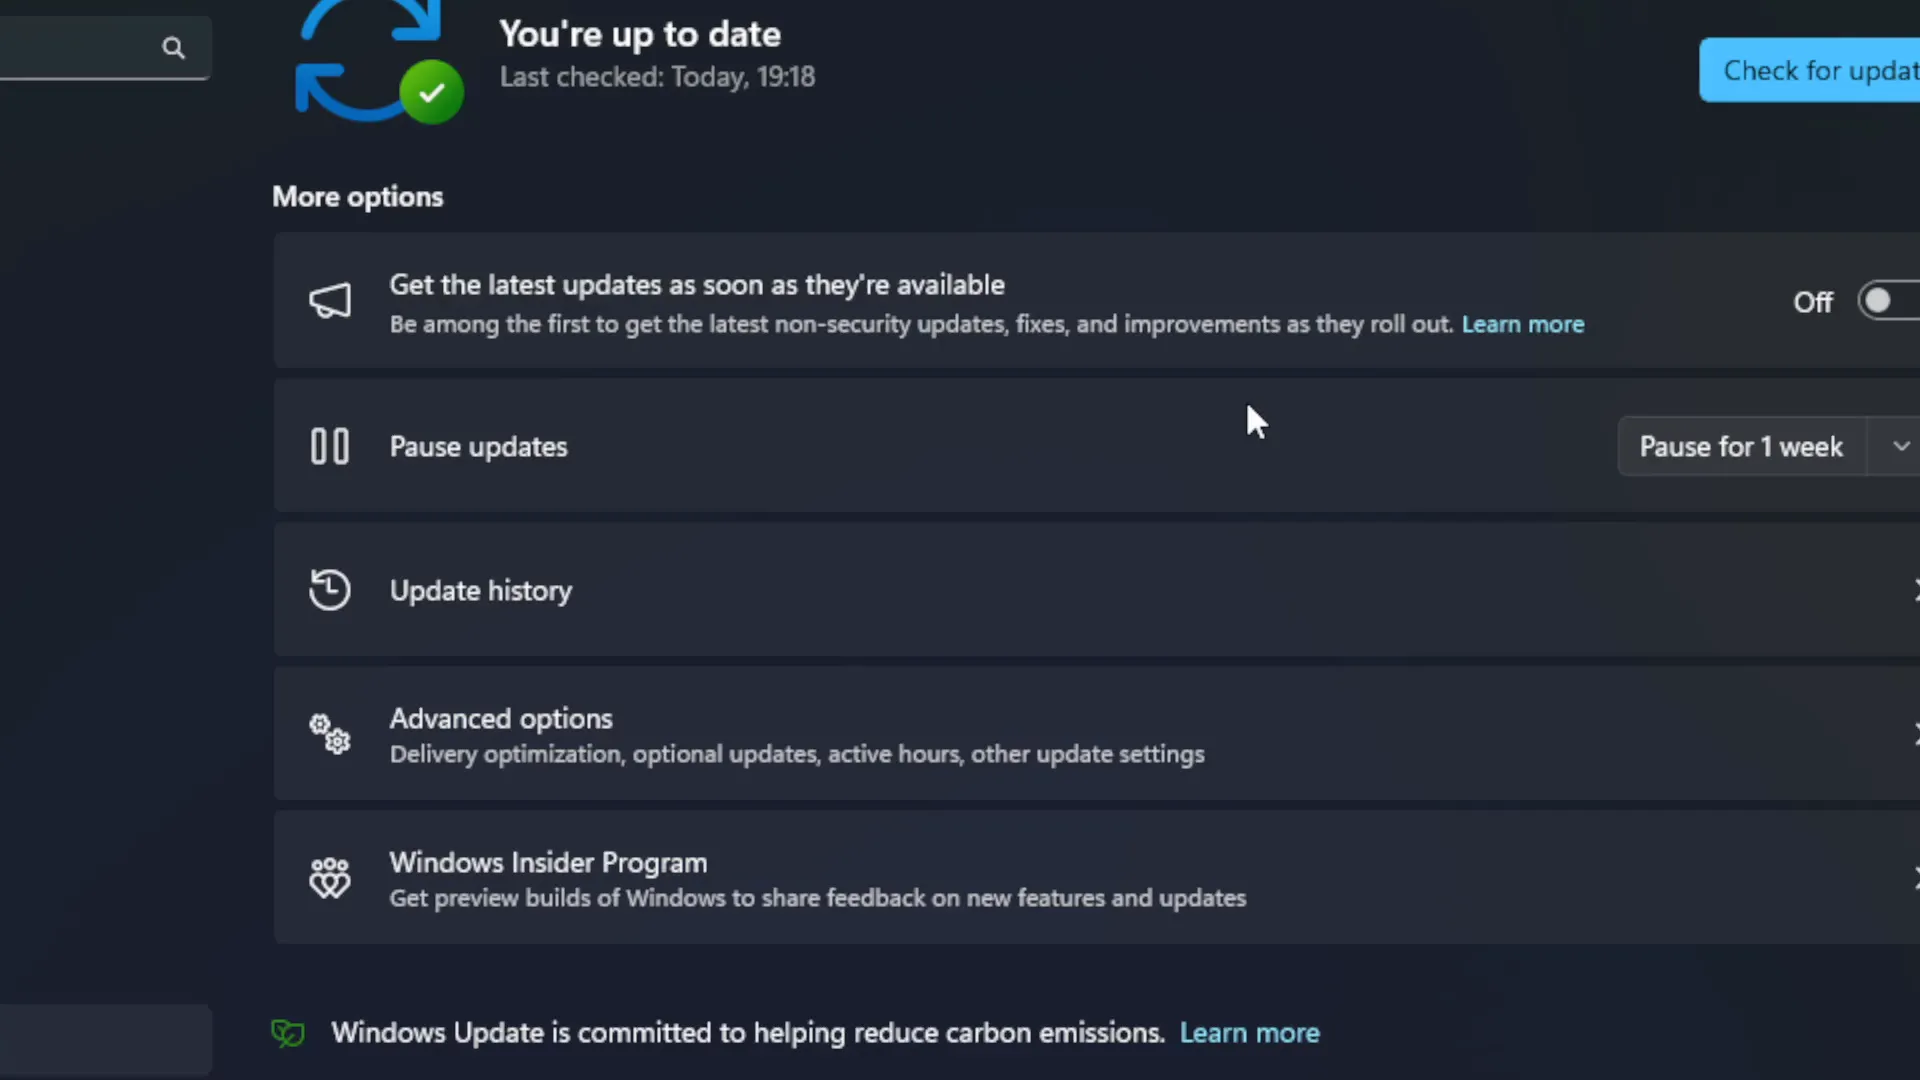
Once you are in the Windows Update settings, you’ll see a prominent button that says Check for updates. Click on this button to initiate the update process.
Windows will then search for any available updates. If there are updates available, they will be listed, and you will have the option to download and install them.
Step 3: Downloading and Installing Updates
After checking for updates, if any are found, you will see options to download them. Click on Download to begin the process. This may take some time depending on the size of the updates and your internet speed.
Once the download is complete, Windows will prompt you to install the updates. Follow the on-screen instructions to proceed with the installation. Make sure to save any work in progress, as your computer may need to restart to complete the installation.
Step 4: Restarting Your Machine
After the updates have been installed, your machine may require a restart. If prompted, click on Restart now. This step is vital as it allows the updates to take effect and ensures your system runs smoothly with the latest features and security patches.
Tips for a Smooth Update Process
Here are a few tips to ensure your update process goes as smoothly as possible:
- Backup Important Data: Before starting the update, consider backing up important files. This is a precautionary measure in case something goes wrong during the update.
- Ensure Sufficient Storage: Make sure you have enough storage available on your device. Updates can be large, and insufficient space may cause the update to fail.
- Stay Connected: A stable internet connection is crucial for downloading updates. If possible, use a wired connection for better stability.
- Check Power Supply: If you are using a laptop, ensure it is plugged in during the update to avoid any interruptions.
Troubleshooting Common Update Issues
Sometimes, you might encounter issues while updating Windows 11. Here are some common problems and their solutions:
- Update Fails to Download: If the update doesn’t download, try restarting your computer and checking for updates again. You can also check your internet connection.
- Stuck on “Checking for updates”: If Windows is stuck on this screen, restart your device and try again. If it persists, consider running the Windows Update Troubleshooter.
- Insufficient Storage Error: If you receive this error, free up some space on your drive by deleting unnecessary files or moving them to an external drive.
Conclusion
Keeping your Windows 11 updated is essential for security and performance. By following the steps outlined above, you can easily check for and install updates. Remember, a well-maintained system is less prone to issues and runs more efficiently. Happy updating!



Leave a Reply